
Special Price
$124.61
Regular Price
$138.95
In stock
Available Quantity:
35
SKU
W11247220
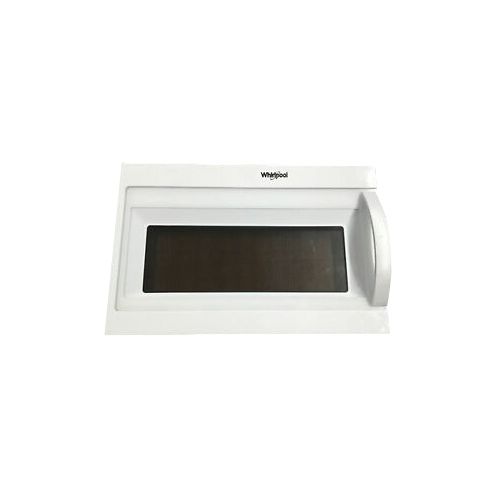
Whirlpool W11247220 Microwave Door Assembly consist a strong frame, glass window, and a latch that enable door to open and close while the microwave is in operation. The assembly is designed to prevent heat from escaping during cooking, and there are no gaps that can affect the functionality of the product. It also improves the durability and safety through a well-developed structure. It also has the advantage of easy replacement, reducing the time taken for repairs. This part ensures that the microwave is always efficient and cooks food evenly for efficient use.
Manufacturer

This Part Fits the Following Models (67)
Whirlpool Microwave/Hood Combo YWMH31017HS2 YWMH31017HS2
Whirlpool Microwave/Hood Combo YWMH31017HB2 YWMH31017HB2
Whirlpool WMH31017HS2 Microwave/Hood Combo
Whirlpool WMH31017HW0 Microwave/Hood Combo
Whirlpool WMH31017HW1 Microwave/Hood Combo
Whirlpool WMH31017HS8 Microwave/Hood Combo
Whirlpool WMH31017HS7 Microwave/Hood Combo
Whirlpool WMH31017HS1 Microwave/Hood Combo
Whirlpool WMH31017HS0 Microwave/Hood Combo
Whirlpool WMH31017HB2 Microwave/Hood Combo
Whirlpool WMH31017HB1 Microwave/Hood Combo
Whirlpool WMH31017HB0 Microwave/Hood Combo
Whirlpool WMH31017HW7 Microwave/Hood Combo
Whirlpool WMH31017HW8 Microwave/Hood Combo
Whirlpool WMH31017HW2 Microwave/Hood Combo
Showing 1-15
of 67
| Manufacturer Name: WHIRLPOOL Product Number: W11247220 OEM Part Number: W11247220 Product Description: Door/Mw |
Choose the best Home Appliance parts and supplies from HnKParts!
Same Day Shipping
Best Quality And Best Price
Wide Range of Inventory
Best Customer Service
Have More Questions or Need Help to Place The Order?
Reach us at (866)723-0907 or [email protected]
Write Your Own Review
Customer Questions
Installation Steps
Step1: Disconnect microwave power supply and discharge capacitor for safety.
Step2: Remove outer trim and hinge screws carefully.
Step3: Detach old door assembly from hinges.
Step4: Align new door assembly with hinge mounts.
Step5: Secure screws evenly and ensure latch alignment.
Step6: Test door opening/closing before restoring power.
