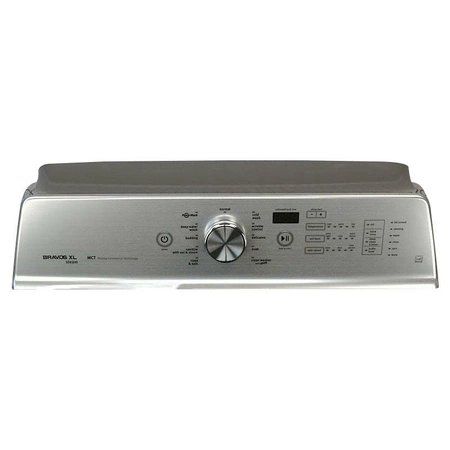
Whirlpool W11226503 Washer Control Panel
Special Price
$216.61
Regular Price
$239.95
Out of stock
Available Quantity:
0
SKU
W11226503
Product Description
The Whirlpool W11226503 Washer Control Panel simplifies laundry management with intuitive controls for seamless operation. This essential component serves as the interface for selecting wash cycles, adjusting settings, and monitoring the washing process. Designed to work effortlessly, it sends signals to the washer’s internal system, ensuring precise water levels, spin speeds, and wash durations. With clearly labeled buttons and a user-friendly layout, it allows for simple customization of each load. Enjoy the convenience of optimized cleaning performance, efficient water usage, and tailored fabric care at your fingertips. This control panel enhances usability, making everyday laundry tasks straightforward and effective.
Manufacturer

✓ This Product Replaces:
W10681982