
Special Price
$169.67
Regular Price
$187.95
In stock
Available Quantity:
11
SKU
W11225131
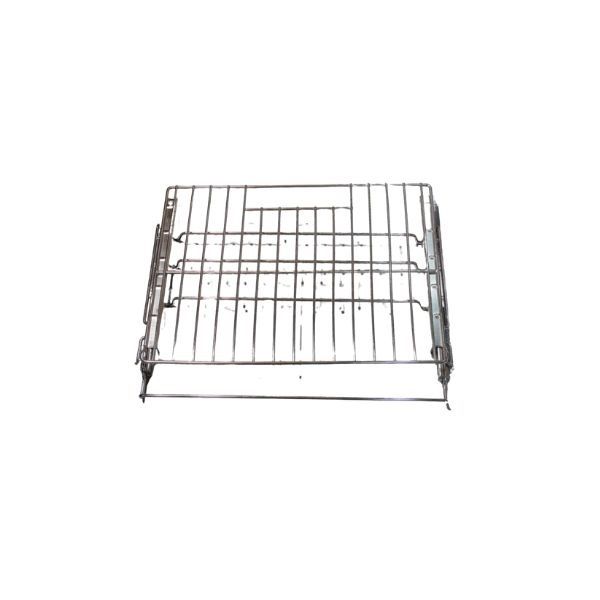
This Whirlpool W11225131 Oven Rack is intended to fit into the interior of the oven and slide in place for access and efficient heat distribution to all foods. The rack is constructed so that it can hold heavy items without warping and keeping its shape over time. It saves the maximum oven space allowing more trays or dishes to be cooked at a time. This rack improves the efficiency of cooking because even heat circulation results in even cooking with less effort and better results.
Manufacturer

✓ This Product Replaces:
W10554008, W10859057, W10911366
This Part Fits the Following Models (111)
KitchenAid Dual-Fuel Range KSDB900ESS2 KSDB900ESS2
KitchenAid Dual-Fuel Range YKSDB900ESS3 YKSDB900ESS3
KitchenAid Dual-Fuel Range YKSDG950ESS0 YKSDG950ESS0
KitchenAid Dual-Fuel Range YKSDB900ESS1 YKSDB900ESS1
KitchenAid Dual-Fuel Range YKSDB900ESS2 YKSDB900ESS2
KitchenAid Dual-Fuel Range KSDB900ESS3 KSDB900ESS3
KitchenAid Dual-Fuel Range YKSDB900ESS0 YKSDB900ESS0
KitchenAid Dual-Fuel Range KSDG950ESS1 KSDG950ESS1
KitchenAid Gas Range KSGB900EBL0 KSGB900EBL0
KitchenAid Gas Range KSGB900ESS0 KSGB900ESS0
KitchenAid Gas Range KSGB900ESS4 KSGB900ESS4
KitchenAid Gas Range KSGB900ESS2 KSGB900ESS2
KitchenAid Gas Range KSGB900ESS3 KSGB900ESS3
KitchenAid Gas Range KSGB900EWH0 KSGB900EWH0
KitchenAid Electric Slide-In Range YKSEB900EWH2 YKSEB900EWH2
Showing 1-15
of 111
| Manufacturer Name: WHIRLPOOL Product Number: W11225131 OEM Part Number: W11225131 Product Description: Rack-Oven |
Choose the best Home Appliance parts and supplies from HnKParts!
Same Day Shipping
Best Quality And Best Price
Wide Range of Inventory
Best Customer Service
Have More Questions or Need Help to Place The Order?
Reach us at (866)723-0907 or [email protected]
Write Your Own Review
Customer Questions
Installation Steps
Step1: Ensure the oven is completely cool and unplugged.
Step2: Remove the old oven rack by sliding it out carefully.
Step3: Clean the oven rails for debris or buildup.
Step4: Align the new rack with the rails.
Step5: Slide it fully into position until secure.
Step6: Test by gently pulling and pushing to confirm stability.
