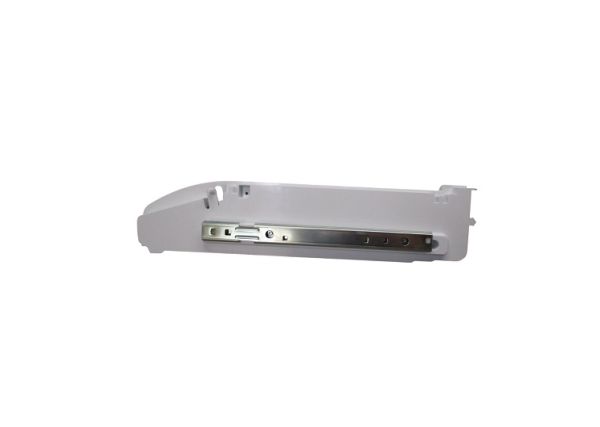
Whirlpool W11222065 Refrigerator Endcap
Special Price
$33.39
Regular Price
$44.95
In stock
Available Quantity:
5
SKU
W11222065
Product Description
ENDCAP
Manufacturer
