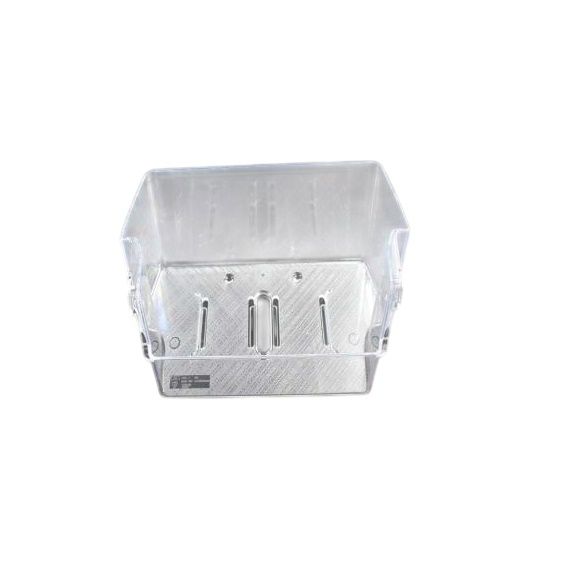
Whirlpool W11190821 Refrigerator Door Shelf Bin
Special Price
$98.76
Regular Price
$122.05
In stock
Available Quantity:
20
SKU
W11190821
Product Description
The Whirlpool W11190821 Refrigerator Door Shelf Bin is functional and used for the storage of different food items in the door, it attaches securely to the door and organizes bottles, jars, and smaller items. It is made with durable material that is not broken or cracked easily, by taking up as much space as possible in the refrigerator door. It provides clear visibility and organization, giving access to frequently used products, it improves the efficiency and accessibility of the fridge by keeping items neatly stored and within reach.
Manufacturer
