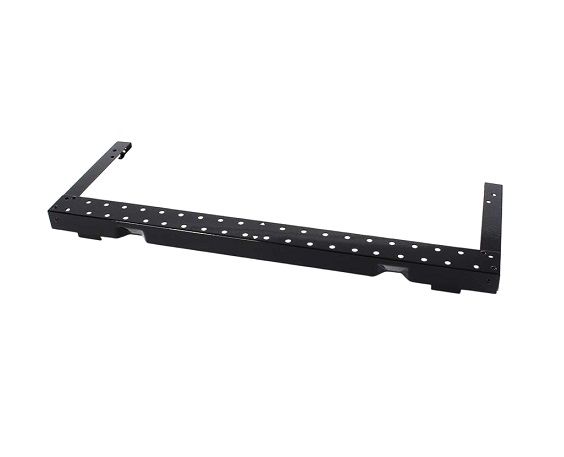
The Whirlpool W11185746 Microwave 15" Bump Out Mounting Kit is created to securely mount and offer stability and support, This mounting kit allows the oven to be placed a little bit away from the wall, providing more space for ventilation and access to vents. The bump-out feature of the 15" is a feature that helps with air circulation to prevent overheating and improve overall performance. This provides a solution for several different kitchen setups, with better microwave functionality and better convenience in everyday use.
The Whirlpool Microwave Bump-Out Mounting Kit (W11185746) should be acquired and had on hand prior to initiating the replacement process. Additional materials required include:
Safety glasses.
Phillips head screwdriver.
Flathead screwdriver.
Level.
Step 2: Take Down the Old Mount.
With a Phillips head screwdriver, all screws that fasten the old mount to the wall should be detached. The mount should be carefully extracted from the wall and set aside.
Step 3: Prepare the Wall.
The vicinity surrounding the previous mount should be inspected for any signs of damage. If needed, the wall should be mended using spackle or plaster. Twice should be measured, then the wall should be leveled and marked to indicate where the new mount will be installed.
Step 4: Attach the New Mount.
The new mounting kit should be aligned with the markings on the wall and a flathead screwdriver should be utilized to fasten the mount securely. The mount should be ensured level, then the tightening of the screws should be completed.
Step 5: Position the Bump-Out.
After the mount has been secured, the microwave bump-out should be positioned onto it. The bump-out should be fastened to the mount using the hardware supplied with the mounting kit.
Step 6: Verify the Installation.
The bump-out should be gently shaken to confirm its stability. Once confidence is gained that it is securely in place, the installation has been completed!
By following these straightforward steps, your Whirlpool Microwave Bump-Out Mounting Kit (W11185746) can be effectively replaced. Safety should always be prioritized—safety glasses should be worn throughout the process and necessary precautions should be taken to safeguard yourself and your home.
Please note that these instructions should serve as general guidance and should always be used alongside the manufacturer's manual, if available.