
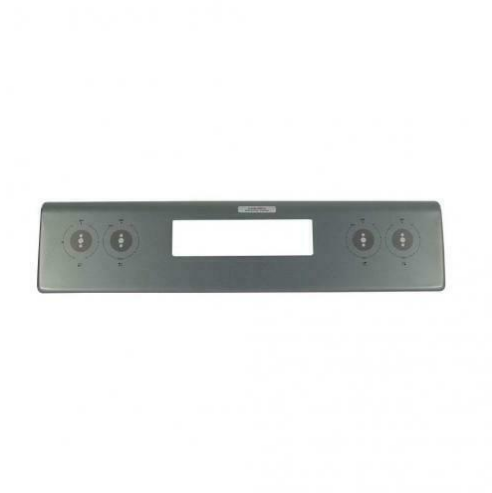
Whirlpool W11180283 Range Control Panel

Special Price $189.38 Regular Price $209.95
In stock
Available Quantity:   70
SKU
W11180283

Product Description

The Whirlpool W11180283 Range Control Panel gives access to cooking settings and temperature adjustments for precise operation, with its well-organized layout, the construction ensures long-term reliability and the replacement part is a valuable item to maintain optimal kitchen performance. This component works as an interface to pick oven modes, adjust heat, and regulate timer settings, all of which are in a form that is clear and responsive and made to be robust, durable, and efficient to ensure better performance of compatible models with its control.
Manufacturer

https://www.hnkparts.com/media/catalog/product/w/1/w11180283_whirlpool_hnkparts.png
Manufacturer Name: WHIRLPOOL
Product Number: W11180283
OEM Part Number: W11180283
Product Description: Panl-Cntrl

Choose the best Home Appliance parts and supplies from HnKParts!

  • Same Day Shipping

  • Best Quality And Best Price

  • Wide Range of Inventory

  • Best Customer Service

Have More Questions or Need Help to Place The Order?
Reach us at (866)723-0907 or [email protected]

Write Your Own Review
You're reviewing:Whirlpool W11180283 Range Control Panel
Your Rating
Customer Questions
What maintenance is required for the Whirlpool W11180283 Control Panel?

Regularly wipe the range control panel with a soft, damp cloth to remove grease and spills. Avoid abrasive cleaners to prevent scratches. Ensure the panel is dry before use to maintain responsiveness and prevent electrical issues.

What are common issues with the Whirlpool W11180283 Control Panel?

  • Unresponsive or sticky buttons.
  • Display flickering or blank screens.
  • Erratic temperature or timer readings.
  • Failure to communicate with the range controls.

Installation Steps

Step1: Disconnect range power at breaker and ensure appliance is completely cool before starting.

Step2: Remove mounting screws securing existing range control panel carefully to avoid damage.

Step3: Disconnect wiring harness by releasing clips and noting each connection position.

Step4: Attach new control panel and reconnect harness securely to terminals.

Step5: Align panel properly and fasten all screws firmly in place.

Step6: Restore power and test all operations to ensure proper operation.