
Special Price
$122.95
Regular Price
$136.95
Out of stock
Available Quantity:
0
SKU
W11177238
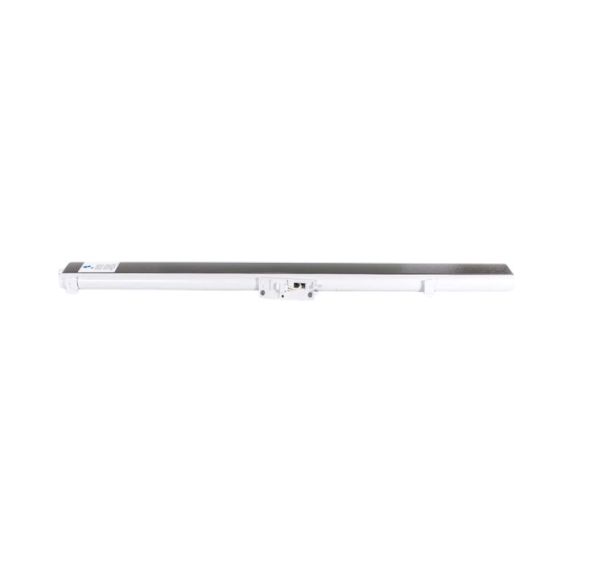
The Whirlpool W11177238 Refrigerator Door Mullion Rail ensures a tight seal between French doors, preventing air leaks and enhancing efficiency. It automatically pivots when the door opens and returns to position upon closing, maintaining insulation. Designed for smooth operation, it helps regulate internal temperature and reduces energy consumption. Durable construction enhances longevity, minimizing the need for replacements. Improved sealing preserves food freshness, while energy efficiency contributes to lower utility costs.
Manufacturer

✓ This Product Replaces:
12732508AP, W10153704, WPW10153704
This Part Fits the Following Models (45)
KitchenAid Refrigerator KRFC302EBS00 KRFC302EBS00
KitchenAid Refrigerator KRFC302EBL00 KRFC302EBL00
KitchenAid Refrigerator KRFC302EWH00 KRFC302EWH00
KitchenAid Refrigerator KRFC302ESS00 KRFC302ESS00
KitchenAid Refrigerator KFCS22EVMS8 KFCS22EVMS8
KitchenAid KFCS22EVWH1 Refrigerator
KitchenAid Bottom-Mount Refrigerator KRFC302EBS02 KRFC302EBS02
KitchenAid Bottom-Mount Refrigerator KRFC302ESS02 KRFC302ESS02
KitchenAid KFCS22EVMS00 Refrigerator
KitchenAid KFCS22EVMS1 Refrigerator
KitchenAid KFCS22EVMS3 Refrigerator
KitchenAid KFCS22EVMS2 Refrigerator
KitchenAid KFCS22EVMS4 Refrigerator
KitchenAid KFCS22EVMS5 Refrigerator
KitchenAid KFCS22EVWH00 Refrigerator
Showing 1-15
of 45
| Manufacturer Name: WHIRLPOOL Product Number: W11177238 OEM Part Number: W11177238 Product Description: Rail-Mulln |
Choose the best Home Appliance parts and supplies from HnKParts!
Same Day Shipping
Best Quality And Best Price
Wide Range of Inventory
Best Customer Service
Have More Questions or Need Help to Place The Order?
Reach us at (866)723-0907 or [email protected]
Write Your Own Review
Customer Questions
Installation Steps
Step1: Unplug refrigerator and empty door contents to ensure safety before starting.
Step2: Remove the old mullion rail by unscrewing or unclipping it carefully from the door.
Step3: Align the new rail with the door mounting slots and guide pins.
Step4: Secure screws or clips firmly and confirm the spring mechanism is properly seated and functioning.
Step5: Restore power and test door closure to ensure proper sealing and smooth operation.
