
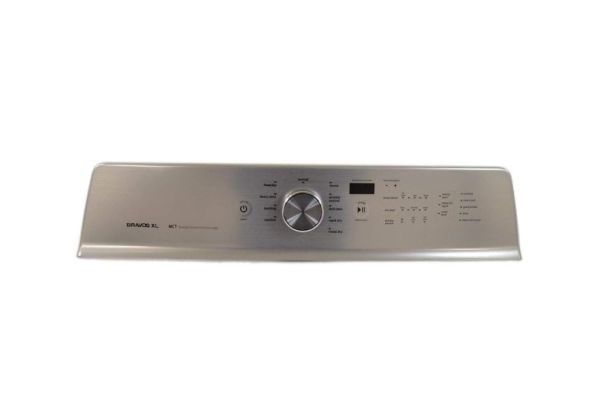
Whirlpool W11158457 Dryer Control Panel

Special Price $252.87 Regular Price $290.95
In stock
Available Quantity:   47
SKU
W11158457

Product Description

The Whirlpool W11158457 Control Panel is used to maintain the functionality of the dryer. This panel enables to choose the drying cycles, and settings and check the progress. Operates by providing specific signals to the dryer’s internal control to control the temperature, time, and drying modes. This panel is designed to fit most dryers and it will help to bring its optimal performance and longevity.
Manufacturer

https://www.hnkparts.com/media/catalog/product/w/1/w11158457-42754.jpg
Manufacturer Name: WHIRLPOOL
Product Number: W11158457
OEM Part Number: W11158457
Product Description: Overlay

Choose the best Home Appliance parts and supplies from HnKParts!

  • Same Day Shipping

  • Best Quality And Best Price

  • Wide Range of Inventory

  • Best Customer Service

Have More Questions or Need Help to Place The Order?
Reach us at (866)723-0907 or [email protected]

Write Your Own Review
You're reviewing:Whirlpool W11158457 Dryer Control Panel
Your Rating
Customer Questions
What maintenance is required for the Whirlpool W11158457 Control Panel?

Regularly clean the dryer control panel with a soft, dry cloth to remove dust and lint. Avoid harsh chemicals that could damage buttons or display. Inspect for loose connections and ensure the panel is dry before use.

What are common issues with the Whirlpool W11158457 Control Panel?

  • Buttons not responding or sticking.
  • Display screen flickering or failing.
  • Erratic or incorrect cycle selections.
  • Loose or damaged wiring connections.
  • Intermittent power or control failures.

Installation Steps

Step1: Disconnect power to dryer at outlet or breaker to prevent electric shock.

Step2: Remove top panel/console screws and detach old control panel wiring harness carefully.

Step3: Note connector positions before unplugging.

Step4: Align new control panel and reconnect harness securely.

Step5: Refit screws and ensure panel is flush.

Step6: Restore power and test all functions.

Step7: Verify compatibility of connectors and secure all grounding before closing console.