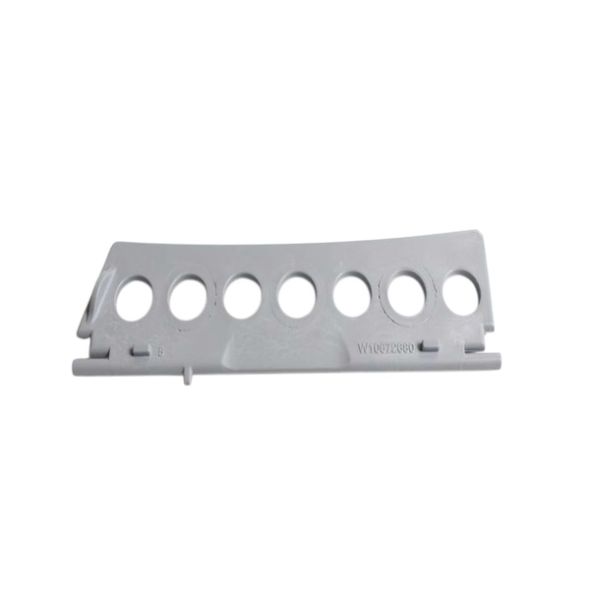
Whirlpool W11156832 Dryer Lint Screen Door
Special Price
$45.06
Regular Price
$71.37
In stock
Available Quantity:
56
SKU
W11156832
Product Description
The Whirlpool W11156832 Dryer Lint Screen Door is an essential component that improves the efficiency and longevity of your dryer. Crafted to fit perfectly into select Whirlpool dryer models, this lint screen door acts as a dependable barrier, catching lint and debris and keeping them from clogging the dryer vent. By effectively trapping lint, it helps to maintain appropriate airflow throughout the dryer system, boosting drying performance and lowering the danger of overheating. Its sturdy structure ensures long-term use and ease. This lint screen door is easy to install and maintain, making it a hassle-free solution for keeping your dryer working properly.
Manufacturer

✓ This Product Replaces:
W10219016, WPW10219016