The 
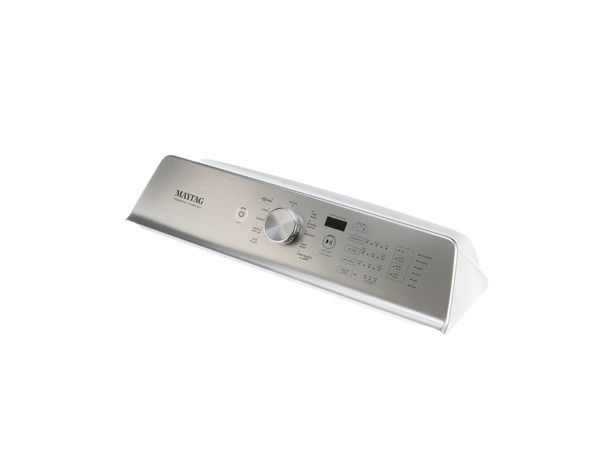
Whirlpool W11135391 Washer Control Console is used to operate through a display that allows the user to choose the type of wash, set parameters, and check the status. It is connected to the internal parts of the machine and can operate the commands of water levels, spin speeds, and cycle time. The control console is designed to be easy and allows for the management of the laundry tasks with ease through the console.
Step 1: The power cord is disconnected from your Whirlpool W11135391 Washer and the water supply is turned off. Next, the washer valves positioned at the rear of the washer are deactivated.
Step 2: The washer is gently tilted backward by modifying the leveling legs. With a flathead screwdriver, the screws securing the top lid are carefully taken out. Once the top lid is detached, it is raised and the screws at the rear of the washer that hold the control console in place are found.
Step 3: The screws are extracted and the two wiring harnesses from the back of the control console are cautiously disconnected. The wiring harnesses are retained as they will be required for the installation of the new control console.
Step 4: The new control console is taken and the two wiring harnesses are connected. It is ensured that they are firmly attached.
Step 5: The new control console is fastened in the identical position using the screws that were previously removed.
Step 6: The top lid of the washer is reattached and secured with the screws.
Step 7: The legs are modified to lower the washer back into its original position. It is confirmed that the washer is level before the water supply is reconnected and the washer valves located at the rear of the washer are activated.
Step 8: Lastly, the power cord is reconnected and the washer is turned on. The W11135391 Whirlpool Washer Control Console has now been successfully replaced!
Please remember that these instructions are served as general guidance and should always be utilized alongside the manufacturer's manual, if available.