
$54.75
In stock
Available Quantity:
147
SKU
W11133634
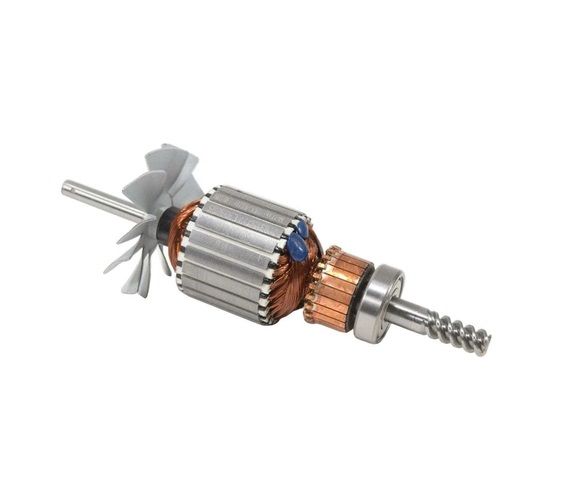
The Whirlpool W11133634 Mixer Armature Assembly is a rotating electrical part, which provides functionality of the blender of similar appliances. It serves the purpose of transforming electrical energy into the mechanical energy that provides the torque to cause the attachments of the mixing to turn. The armature assembly is used to move with the magnetic field of the motor to produce regulated movement at the necessary speeds. It is fitted in the motor housing of the mixer, and is clamped to the drive shaft.
Manufacturer

✓ This Product Replaces:
4162959, 9708315, W10315777, WPW10315777
This Part Fits the Following Models (216)
KitchenAid Mixer 7KSM150PSZPT0 7KSM150PSZPT0
KitchenAid Mixer 7KSM150PSZTG0 7KSM150PSZTG0
KitchenAid Mixer 7KSM150PSZWH0 7KSM150PSZWH0
KitchenAid Mixer 8KSM90TWH0 8KSM90TWH0
KitchenAid Mixer KDM90DGN0 KDM90DGN0
KitchenAid Mixer 7K45SS 7K45SS
KitchenAid Mixer 7K5SS 7K5SS
KitchenAid Mixer 7KSM150PSZBW0 7KSM150PSZBW0
KitchenAid Mixer 7KSM150PSZCB0 7KSM150PSZCB0
KitchenAid Mixer 7KSM150PSZCL0 7KSM150PSZCL0
KitchenAid Mixer 7KSM150PSZCU0 7KSM150PSZCU0
KitchenAid Mixer 7KSM150PSZER0 7KSM150PSZER0
KitchenAid Mixer 7KSM150PSZGA0 7KSM150PSZGA0
KitchenAid Mixer 7KSM150PSZGR0 7KSM150PSZGR0
KitchenAid Mixer 7KSM150PSZMY0 7KSM150PSZMY0
Showing 1-15
of 216
| Manufacturer Name: WHIRLPOOL Product Number: W11133634 OEM Part Number: W11133634 Product Description: Armature |
Choose the best Home Appliance parts and supplies from HnKParts!
Same Day Shipping
Best Quality And Best Price
Wide Range of Inventory
Best Customer Service
Have More Questions or Need Help to Place The Order?
Reach us at (866)723-0907 or [email protected]
Write Your Own Review
Customer Questions
Installation Steps
Step1: Unplug the mixer and remove the outer cover for better access.
Step2: Disconnect the old armature wiring, noting terminal positions for reassembly.
Step3: Fit the new armature assembly, align shaft, and secure mounting screws tightly.
Step4: Reconnect wiring exactly as noted, ensuring no loose connections.
Step5: Reassemble housing and test operation briefly, keeping hands clear of moving parts.
