Whirlpool W11126051 Range Broil Orifice Conversion Kit
Special Price
$87.92
Regular Price
$101.29
In stock
Available Quantity:
45
SKU
W11126051
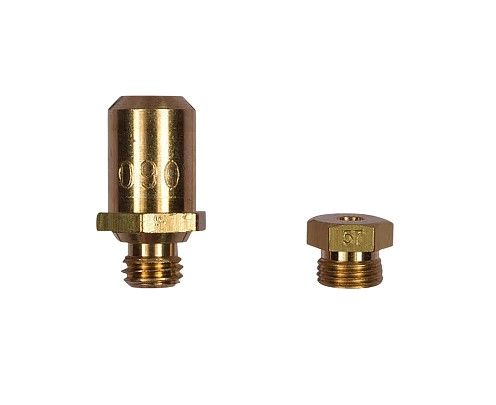
Product Description
The Whirlpool W11126051 Broil Orifice Kit is used to help maintain efficient broil operation in the range. This kit contains the required orifice and other parts to regulate the flow of the gas for the broiler to have the right flame for cooking, is simple to fit, and functions by controlling the flow of gas to the broil burner and providing uniform heat distribution. The advantages of this kit include regaining the broil function to its optimal performance.
Manufacturer

✓ This Product Replaces:
W10566537