
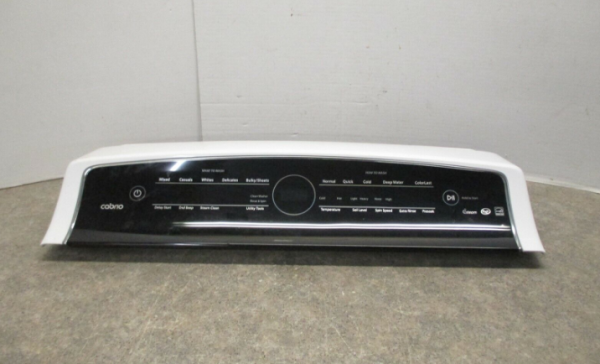
Whirlpool W11102318 Washer Control Console

Special Price $177.78 Regular Price $240.64
In stock
Available Quantity:   40
SKU
W11102318
✓ This Product Replaces: W10662264, W10861507

Product Description

The Whirlpool W11102318 Washer Control Console is mounted on the top panel of the residential washing machines to accommodate and interface the control board so that the user can control the wash settings. This substitute part serves as the control center for choosing cycles, controls and starting or stopping the machine. It functions by connecting safely with the internal control board and matching with the electronics of the washer to send user commands.
Console,
Manufacturer
https://www.hnkparts.com/media/catalog/product/w/1/w11102318_whirlpool_hnkparts.png
Manufacturer Name: WHIRLPOOL
Product Number: W11102318
OEM Part Number: W11102318
Product Description: Console

Choose the best Home Appliance parts and supplies from HnKParts!

  • Same Day Shipping

  • Best Quality And Best Price

  • Wide Range of Inventory

  • Best Customer Service

Have More Questions or Need Help to Place The Order?
Reach us at (866)723-0907 or [email protected]

Write Your Own Review
You're reviewing:Whirlpool W11102318 Washer Control Console
Your Rating
Customer Questions
What maintenance is required for the Whirlpool W11102318 Console?

Regularly wipe the console with a soft, damp cloth to remove dust and residue. Avoid harsh chemicals that may damage buttons or display. Ensure the washer is unplugged during cleaning, and check for loose connections to prevent operational issues.

What are common issues with the Whirlpool W11102318 Console?

  • Unresponsive or sticky buttons.
  • Error codes appearing on the display.
  • Inconsistent cycle selection or program changes.
  • Intermittent power or display failures.

Installation Steps

Step1: Disconnect power and remove washer top panel for safe access.

Step2: Label and detach wiring harness from old control console carefully.

Step3: Mount new console and reconnect wiring securely.

Step4: Restore power, test operations, and ensure no loose connections for safety immediately after installation process.

Step5: Verify console alignment and tighten screws before final reassembly.