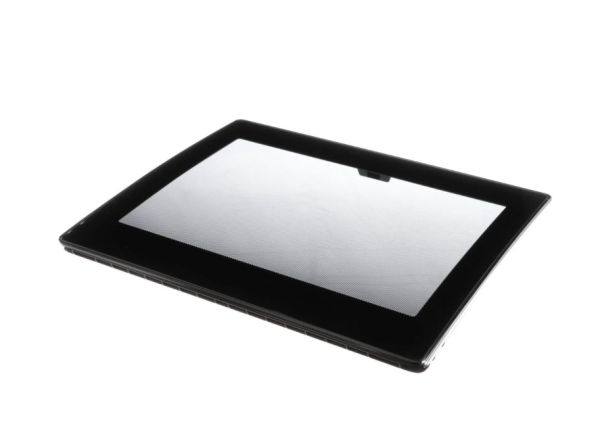
Whirlpool W11102314 Washer Lid Assembly
Special Price
$175.41
Regular Price
$230.54
In stock
Available Quantity:
131
SKU
W11102314
Product Description
The Whirlpool W11102314 Lid Assembly is used to help operate the washer. And is designed to ensure the drum gets a lid seal during the washing process and is securely fastened to prevent water leakage during the spinning process and also to allow easy opening during the loading or unloading of clothes. This type of lid assembly provides improved washing performance, less noise, and the washer will serve for a longer time.
Manufacturer

✓ This Product Replaces:
W10610172, W10594159, W11036089, W11101421