The store will not work correctly in the case when cookies are disabled.
We collect user information to provide a better user experience and protect the security of our website. By continuing to use our website, you acknowledge the use of cookies.
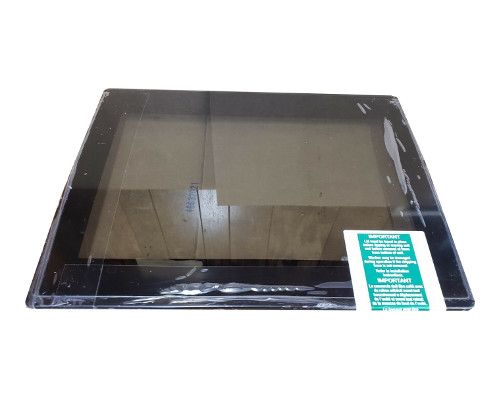
The Whirlpool W11101499 Washer Lid Assembly is a part of a washing machine that is placed on the top of the machine to cover the drum and allows it to function correctly. This part acts as a swinging lid to access the tub and also provides safety during washing. It operates in a way that matches the lid switch mechanism.
What maintenance is required for the Whirlpool W11101499 Lid Assembly?
Inspect the lid assembly regularly for cracks, loose hinges, or misalignment and tighten or replace components as needed. Keep the surface clean and free of detergent residue to ensure proper sealing and operation. Avoid slamming the lid to prevent hinge and latch damage, and check the lid switch for accurate connection during cycles.
What are common issues with the Whirlpool W11101499 Lid Assembly?
Lid not closing or aligning properly.
Broken or washer hinges causing instability.
Faulty lid latch or switch preventing cycle start.
Cracks or physical damage to lid surface.
Lid not locking during operation.
Intermittent lid detection errors or cycle interruptions.
Installation Steps
Step1: Unplug washer and shut off water supply carefully.
Step2: Lift and detach damaged old lid assembly, noting hinge positions and wiring if present.
Step3: Align new lid assembly with hinges and mounting points.
Step4: Secure screws and reconnect any lid switch wiring firmly, and verify connections are secure before operation.
Step5: Restore power, test lid opening/closing; ensure safety lock operations properly.