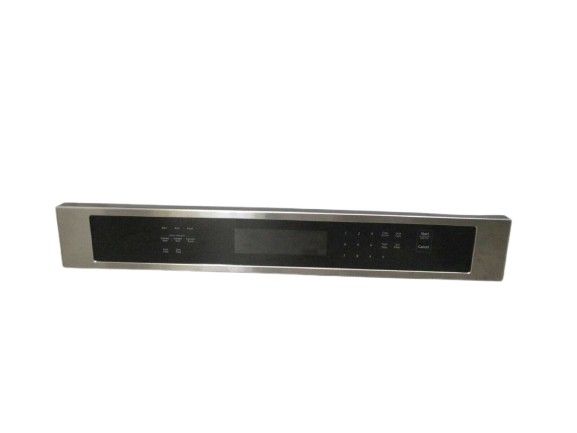
Special Price
$307.78
Regular Price
$458.06
In stock
Available Quantity:
32
SKU
W11093241
The Whirlpool W11093241 Control Panel is used in the range. It regulates the heating elements, temperature, and other controls that can operate the range effectively. This panel fits better into the overall line of appliances and has clear buttons for controlling the cooking process to be capable of delivering longevity to their cooking activities in a safe manner. The panel also helps in controlling the cooking process and eliminates interference.
Manufacturer
✓ This Product Replaces:
W10913288
This Part Fits the Following Models (16)
KitchenAid Electric Oven KOSE500ESS05 KOSE500ESS05
KitchenAid Electric Oven KOSE500EWH03 KOSE500EWH03
KitchenAid Electric Oven KOSE500EWH04 KOSE500EWH04
KitchenAid Electric Oven KOSE500EWH02 KOSE500EWH02
KitchenAid Electric Oven KOSE500EWH05 KOSE500EWH05
KitchenAid Electric Oven KOSE500EBS02 KOSE500EBS02
KitchenAid Electric Oven KOSE500EBL05 KOSE500EBL05
KitchenAid Electric Oven KOSE500EBL04 KOSE500EBL04
KitchenAid Electric Oven KOSE500EBL03 KOSE500EBL03
KitchenAid Electric Oven KOSE500EBL02 KOSE500EBL02
KitchenAid Electric Oven KOSE500ESS02 KOSE500ESS02
KitchenAid Electric Oven KOSE500EBS03 KOSE500EBS03
KitchenAid Electric Oven KOSE500EBS05 KOSE500EBS05
KitchenAid Electric Oven KOSE500EBS04 KOSE500EBS04
KitchenAid Electric Oven KOSE500ESS03 KOSE500ESS03
Showing 1-15
of 16
| Manufacturer Name: WHIRLPOOL Product Number: W11093241 OEM Part Number: W11093241 Product Description: Panl-Cntrl |
Choose the best Home Appliance parts and supplies from HnKParts!
Same Day Shipping
Best Quality And Best Price
Wide Range of Inventory
Best Customer Service
Have More Questions or Need Help to Place The Order?
Reach us at (866)723-0907 or [email protected]
Write Your Own Review
Customer Questions
Installation Steps
Step1: Ensure the range is unplugged to prevent electrical hazards.
Step2: Remove the existing control panel by detaching screws and connectors.
Step3: Carefully disconnect all wiring harnesses from the old panel.
Step4: Position the new control panel and reconnect wires securely.
Step5: Fasten screws to hold the panel firmly in place.
Step6: Plug in the range and test all functions to confirm proper operation.
