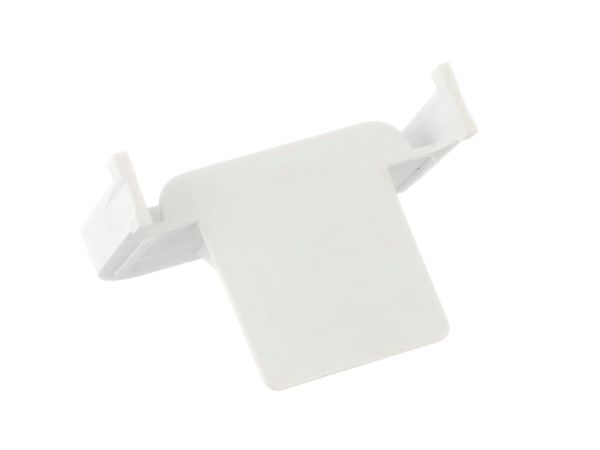
Whirlpool W11084830 Washer Detergent Divider
Special Price
$88.01
Regular Price
$112.95
Out of stock
Available Quantity:
0
SKU
W11084830
Product Description
The Whirlpool W11084830 Washer Detergent Divider is a dispensing part that controls the relationship between the compartments filled with the detergent and the water flow system of the washer. It operates by channeling water to specific parts of the dispenser to dispense detergent, bleach or fabric softener at the right point in the cycle. It is mounted in detergent drawer assembly and firmly attached in the compartment holding it, so that it dispenses correctly and does not change its washing performance.
Manufacturer

✓ This Product Replaces:
W10411442