Whirlpool W11043389 Timer is used to regulate the time and functioning of the dryer to provide efficient drying cycles. Designed to fit and work efficiently, it controls the heating and the tumbling of the dryer and can move from one cycle stage to another to achieve the best drying. The timer also interacts with internal contacts to commence, operate, and cease cycles at the appropriate time to avoid over or under-drying and helps to have better efficiency.
Step 1: The dryer is disconnected from the electrical outlet and the unit is pulled away from the wall.
Step 2: The back panel of the dryer is taken off by unscrewing the five screws on it using a Phillips head screwdriver.
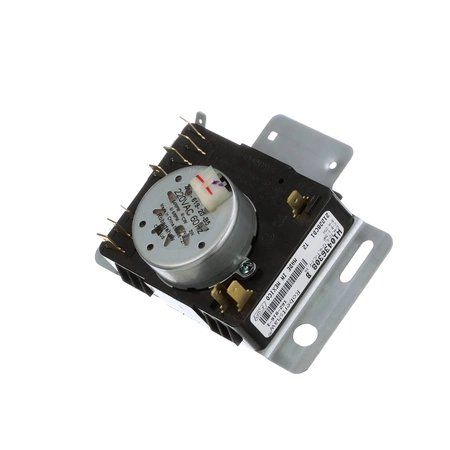
Step 3: The timer is identified, which is situated on the upper left side of the drum. It is a small black device featuring two wiring harnesses attached to it.
Step 4: The two wiring harnesses are detached from the timer by pressing the release tabs outward and subsequently pulling the wires off.
Step 5: The two screws that hold the timer in place on the dryer body are removed.
Step 6: The old timer is taken out and disposed of.
Step 7: The new timer is positioned into the dryer, ensuring that the mounting holes align with the screws.
Step 8: The new timer is fastened using the two screws that were previously removed.
Step 9: The two wiring harnesses are reconnected to the new timer. The wiring harness contains color-coded wires, so it is confirmed they correspond to the correct terminals.
Step 10: The back panel is reassembled by tightening the five screws.
Step 11: The dryer is slid back against the wall and it is reconnected to the electrical outlet.
Step 12: The dryer is activated. The timer should be heard clicking as it progresses through the various settings.
By following these steps, the W11043389 Whirlpool Dryer Timer will be successfully replaced.
It is important to note that these instructions are intended for general assistance and should always be utilized alongside the manufacturer's manual, if available.