
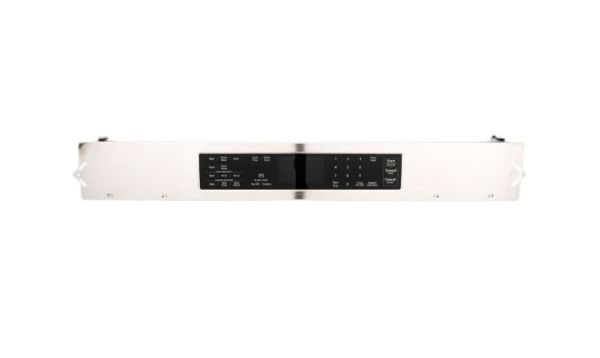
Whirlpool W10920246 Range Control Panel

Special Price $327.95 Regular Price $377.95
In stock
Available Quantity:   23
SKU
W10920246

Product Description

The Whirlpool W10920246 Range Control Panel provides accurate control of the settings and it can easily set the temperature, the modes of cooking, and the time required for cooking. It operates through interfacing with the appliance’s control panel where it interprets the inputs as signals to control heating coils and other parts. It is simple to install and is designed to be sturdy which improves the accuracy, efficiency and ease of cooking.
Manufacturer

✓ This Product Replaces: W10697319, W10915403
https://www.hnkparts.com/media/catalog/product/w/1/w10920246-41376.jpg
Manufacturer Name: WHIRLPOOL
Product Number: W10920246
OEM Part Number: W10920246
Product Description: Panl-Cntrl

Choose the best Home Appliance parts and supplies from HnKParts!

  • Same Day Shipping

  • Best Quality And Best Price

  • Wide Range of Inventory

  • Best Customer Service

Have More Questions or Need Help to Place The Order?
Reach us at (866)723-0907 or [email protected]

Write Your Own Review
You're reviewing:Whirlpool W10920246 Range Control Panel
Your Rating
Customer Questions
What maintenance is required for the Whirlpool W10920246 Control Panel?

Test each button to verify selections register immediately when pressed. Keep the surface dry to prevent input interference. Restart the system after power interruptions to maintain stable settings and confirm display changes match the selected functions.

What are common issues with the Whirlpool W10920246 Control Panel?

  • Buttons not responding.
  • Display failing to update.
  • Cooking modes not starting.
  • Control panel freezing.

Installation Steps

Step1: Disconnect electrical power to the range at the breaker.

Step2: Remove screws securing the existing control panel from the front console.

Step3: Carefully pull the panel forward to access internal wire connectors.

Step4: Detach wiring harnesses from the old control panel assembly.

Step5: Position the new panel and reconnect all wiring firmly.

Step6: Secure mounting screws, restore power, and verify proper control response.