The store will not work correctly in the case when cookies are disabled.
We collect user information to provide a better user experience and protect the security of our website. By continuing to use our website, you acknowledge the use of cookies.
Observance of Independence day July 4th we are closed [No shipping's and deliveries ] on 07/03/2026, Orders received after 3.00pm CST on 07/02/2026 will be shipping out on Monday 07/06/2026
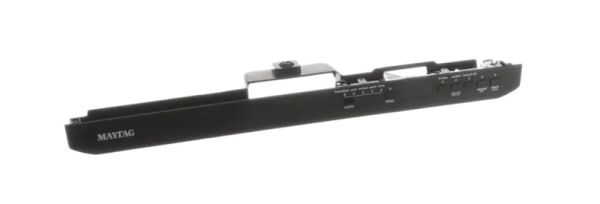
The Whirlpool W10910624 Control Panel Assembly is used for the restoration or improvement of the dishwasher performance. Designed with simple-to-choose wash cycles, drying options, and other controls. Operates by sending the commands received from the user to the main board to achieve the selected settings for optimum performance. The design of the panel is quite simple and convenient with buttons that are sensitive to touch making it simple to use.
What maintenance is required for the Whirlpool W10910624 Control Panel Assembly?
Regularly wipe the dishwasher control panel with a soft, damp cloth to prevent dirt buildup. Avoid chemicals or abrasive tools. Ensure buttons are not stuck and inspect for moisture damage. Proper control can maintain accurate operation and prevents electrical issues.
What are common issues with the Whirlpool W10910624 Control Panel Assembly?
Unresponsive buttons or touchpad.
Error codes appearing unexpectedly.
Display screen fading or not lighting up.
Intermittent communication with the dishwasher main board.
Installation Steps
Step1: Turn off Dishwasher power at breaker and shut water supply for safety before starting immediately.
Step2: Remove inner door panel screws and gently detach old control panel carefully.
Step3: Disconnect wiring harness and note connector positions for reassembly carefully.
Step4: Align new control panel and reconnect wiring harness securely in place.
Step5: Reassemble door panel and restore power to test operation carefully after installation fully.