The store will not work correctly in the case when cookies are disabled.
We collect user information to provide a better user experience and protect the security of our website. By continuing to use our website, you acknowledge the use of cookies.
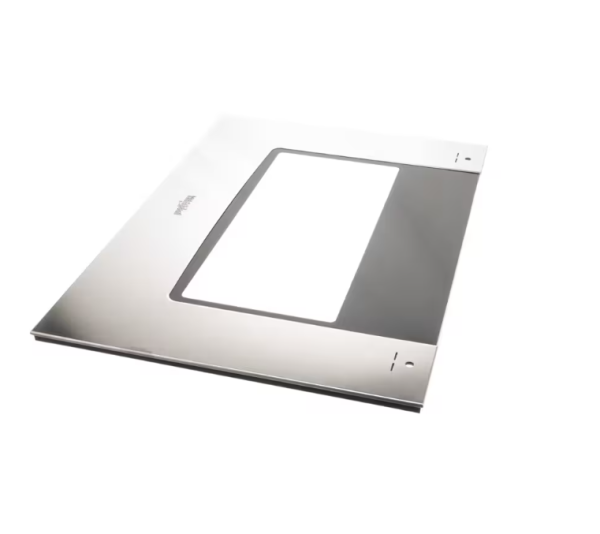
The Whirlpool W10877566 Range Door Glass is an outer glass panel that serves as a heat shield to retain the heat for cooking and at the same time offer visibility of the contents inside. It operates through affixing on the door frame of the oven in such a way that it seals the door and retains heat without allowing it to escape.
What maintenance is required for the Whirlpool W10877566 Outer Door Glass?
Clean the outer door glass regularly using a soft cloth and non-abrasive cleaner to remove grease and fingerprints. Avoid harsh scrubbing pads that can scratch the surface. Check mounting screws periodically to ensure the glass remains secure. Allow the door to cool completely before cleaning to prevent cracks.
What are common issues with the Whirlpool W10877566 Outer Door Glass?
Glass smudges easily.
Scratches appear during cleaning.
Door alignment affects closing.
Noise occurs when closing the oven door.
Installation Steps
Step 1: Power to the refrigerator should be disconnected. Either the power cord should be unplugged from the outlet or the circuit breaker should be deactivated.
Step 2: Prior to taking off the old glass-door, it should ensure that the seals surrounding it are clear and devoid of any dirt or debris.
Step 3: The screws that hold the door in place should be taken out. These will be situated near the top and bottom of the door.
Step 4: The old door should be gently slid off the tracks.
Step 5: The new glass-door should be grabbed and opened cautiously to avoid harming the seal.
Step 6: The new door should be positioned onto the top and bottom tracks. It should ensure that the hinges are aligned correctly.
Step 7: The door should be fastened with the same screws that secured the old door. They should be tightened firmly.
Step 8: Power to the refrigerator should be restored. The circuit breaker should be reactivated or a connection to the wall outlet should be reestablished.
Step 9: It should be verified that the door is sealing properly.
Please remember, these instructions should be utilized as general guidance alongside the manufacturer's manual, if available.