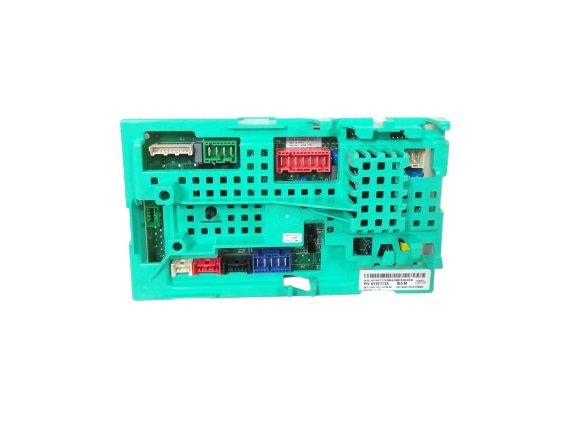
The Whirlpool W10860464 Electronic Control Board is used to control the main operations of the washer. Functions of the washer such as the cycles, water, and spin speeds among others. This board receives inputs from the user and sensors and controls the settings to optimize the performance. Intended for longevity and minimize the chances of a breakdown. Increases the control of washing cycles and improves energy conservation and durability of the machine.
Step 1: The power supply to your Whirlpool appliance should be cut off. Prior to commencing any maintenance or repair activities, it should ensure that the appliance is entirely disconnected from all power sources. This involves being unplugged from the outlet and having any associated circuit breakers deactivated.
Step 2: The current control board should be extracted. Your screwdriver or nut driver should be utilized to take out the current control board. The screws or nuts that secure the board should be unscrewed, then the board should be gently detached from the appliance.
Step 3: The new control board should be positioned. The new W10860464 Whirlpool electric control board should be grabbed and matched with the existing mounting holes. The board should be fastened in position using the same screws or nuts that were previously removed.
Step 4: The power supply should be re-established. It should be confirmed that the board is firmly secured, then the power supply to the appliance should be reconnected. The appliance should now be able to be powered on and verification should be made if the new control board is functioning correctly.
It is important to note that these instructions serve as general guidance and should always be utilized alongside the manufacturer's manual, when available.