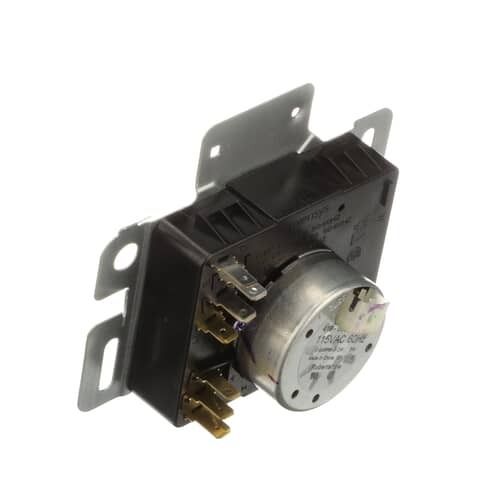
The Whirlpool W10857611 Dryer Timer ensures efficient drying by controlling cycle duration for optimal performance. It regulates heating and motor functions, advancing the cycle automatically. Designed for precision, it shifts settings based on programmed intervals, ensuring proper drying time. The operation used prevents overdrying, protecting fabrics while enhancing energy efficiency. Its durable build supports long-term use, reducing the need for frequent replacements. Its easy integration with compatible models makes it a practical solution for maintaining consistent drying performance.
Step 1: The appliance should be disconnected from its power source. Either the unit should be unplugged from the electrical outlet or the circuit breaker should be deactivated in your fuse or breaker panel.
Step 2: The screws that hold the rear panel of the appliance in place should be taken out to gain access to the timer.
Step 3: The old timer should be gently extracted. Depending on your model, the timer frame might need to be stabilized with one hand while the wires are loosened. Each wire and terminal should be tagged for easy reconnection to the new timer.
Step 4: The new timer should be verified against the manufacturer's guidelines to confirm the correct replacement model has been obtained.
Step 5: The wiring should be connected to the new timer. Each wire should be secured to its designated terminal.
Step 6: The new timer should be fastened to the appliance using the screws that were previously removed.
Step 7: Power should be restored and the timer should be tested to confirm it operates correctly.
Please remember, these instructions should be served as general guidance and should always be used alongside the manufacturer's manual, if accessible.