The store will not work correctly in the case when cookies are disabled.
We collect user information to provide a better user experience and protect the security of our website. By continuing to use our website, you acknowledge the use of cookies.
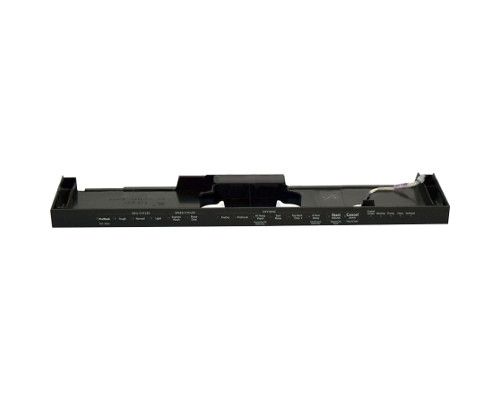
The Whirlpool W10850350 Dishwasher Control Panel offers seamless control over your dishwashing experience. It is designed to improve convenience by allowing for intuitive navigation through various settings and functions, ensuring optimal cleaning results with each use. This control panel was meticulously designed to fit perfectly into compatible Whirlpool dishwasher models, ensuring easy installation and compatibility. It streamlines the dishwashing process by leveraging advanced technology, allowing users to tailor cycles and settings to their specific requirements. With the Whirlpool W10850350 Dishwasher Control Panel, they can wash dishes efficiently, consistently, and thoroughly, saving time and effort in their daily routine. Various buttons or knobs offer options for selecting the appropriate wash cycle based on the level of cleaning needed.
What maintenance is required for the Whirlpool W10850350 Control Panel?
Regularly wipe the dishwasher control panel with a soft, damp cloth to prevent buildup of grease and debris. Avoid chemicals or abrasive materials. Ensure buttons remain responsive by checking for stuck or unresponsive keys, and disconnect power before cleaning for better.
What are common issues with the Whirlpool W10850350 Control Panel?
Unresponsive or sticking buttons.
Erratic or incorrect cycle displays.
Intermittent failure to start cycles.
Display screen dimming or flashing inconsistently.
Installation Steps
Step1: Disconnect the washer from electrical power before starting the installation.
Step2: Open the washer door and pull back the door boot gasket to expose the clamp area.
Step3: Remove the old clamp carefully using pliers or a flat screwdriver without tearing the gasket.
Step4: Fit the new clamp assembly evenly around the gasket groove and tighten or secure it in place.
Step5: Reposition the door boot correctly, close the washer door, and run a short wash cycle to check for proper sealing and leaks.