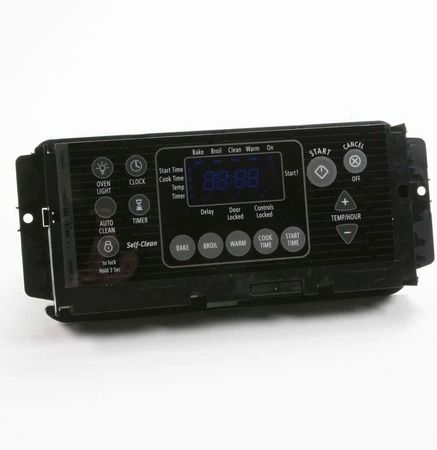
Whirlpool W10840298 Range Control Board
Special Price
$200.26
Regular Price
$316.17
In stock
Available Quantity:
49
SKU
W10840298
Product Description
The Whirlpool W10840298 Range Oven Control Board is responsible for controlling the functions of the appliance and it controls temperature, modes, and timers. The control board operates based on the signals from different sensors and issues commands to heating elements, ignition, and other related aspects. This assists in maintaining the required cooking conditions as desired. It also helps to bring the oven back to its normal state by replacing a defective control board and enhances its performance.
Manufacturer

✓ This Product Replaces:
W10108090, W10108100, W10108110