The store will not work correctly in the case when cookies are disabled.
We collect user information to provide a better user experience and protect the security of our website. By continuing to use our website, you acknowledge the use of cookies.
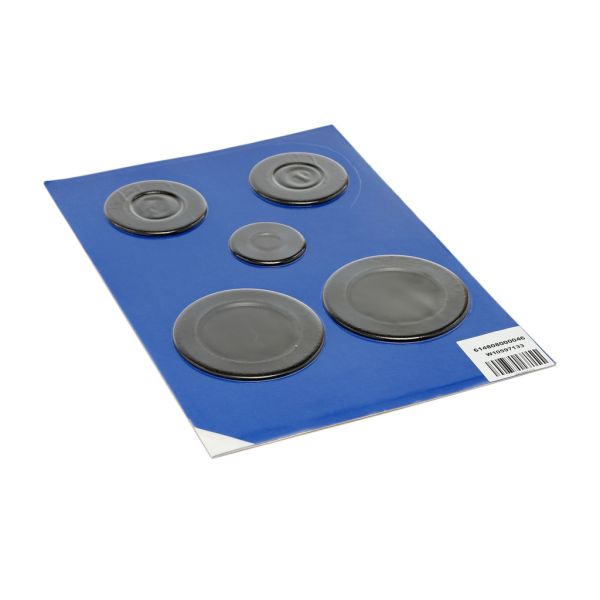
The Whirlpool W10832694 is a range burner cap, which is an essential component of most gas cooktops. It has multiple uses and is positioned right above the burner. First of all, it directs the gas flame upward, guaranteeing that the heat is distributed evenly and efficiently throughout your cookware. In addition, the cap serves as a flame spreader, keeping the flame from spreading to the nearby knobs and controls. It also shields the burner from spills and dirt, which facilitates cleaning and maintenance. The W10832694 is made to endure high temperatures and frequent use because it is composed of sturdy enamel. By replacing a cracked or damaged W10832694 burner cap, you restore correct flame control, increase safety by restricting the flame, and safeguard your cooktop to ensure continuous smooth operation.
Step 1: The range is disconnected from the electrical outlet and the burner grate is taken off.
Step 2: The screws that secure the burner cap are identified. The screws are extracted using a Phillips head screwdriver.
Step 3: The old burner cap is carefully lifted away from the range and placed to the side.
Step 4: The new Whirlpool W10832694 CAP-BURNER is positioned onto the range, ensuring that all four screws are aligned with the holes.
Step 5: The screws are secured with the Phillips head screwdriver.
Step 6: The burner grate is reinstalled and the range is reconnected to the electrical outlet.
Step 7: It is verified that the burner is functioning correctly.
Please be aware that these instructions are served as general guidance and should always be referenced alongside the manufacturer's manual, if available.