Whirlpool W11396037 Refrigerator Door Gasket
Special Price
$100.93
Regular Price
$197.57
In stock
Available Quantity:
72
SKU
W11396037
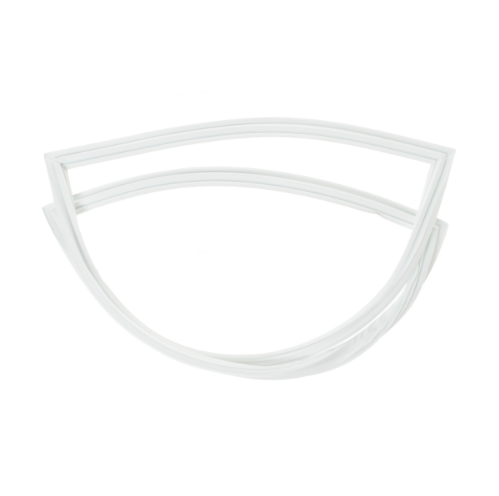
Product Description
The Whirlpool W11396037 Door Gasket creates an airtight seal by compressing against the refrigerator frame. The gasket's flexible material conforms to the door's edge, preventing warm air from entering. This maintains internal temperature, reducing energy consumption. A properly functioning gasket ensures consistent cooling and helps preserve food freshness.
Manufacturer
