
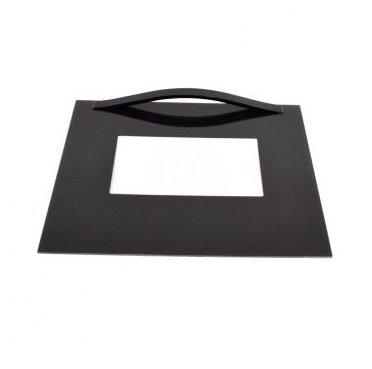
Whirlpool W10804159 Oven Outer Door Glass

Special Price $229.59 Regular Price $256.95
In stock
Available Quantity:   1
SKU
W10804159

Product Description

The Whirlpool W10804159 Outer Door Glass is used to maintain the elegant appearance and efficiency of the oven. Made from heat-resistant glass, it serves as a shield to protect the appliance and at the same time beautify it. This outer glass panel serves the purpose of insulation to ensure that the required cooking temperatures are well maintained without compromising on the heat that goes to the outer surface of the panel and enables one to monitor the progress of food being cooked without having to open the door.
Manufacturer

https://www.hnkparts.com/media/catalog/product/w/1/w10804159_whirlpool_hnkparts.png
Manufacturer Name: WHIRLPOOL
Product Number: W10804159
OEM Part Number: W10804159
Product Description: Glass-Door

Choose the best Home Appliance parts and supplies from HnKParts!

  • Same Day Shipping

  • Best Quality And Best Price

  • Wide Range of Inventory

  • Best Customer Service

Have More Questions or Need Help to Place The Order?
Reach us at (866)723-0907 or [email protected]

Write Your Own Review
You're reviewing:Whirlpool W10804159 Oven Outer Door Glass
Your Rating
Customer Questions
What maintenance is required for the Whirlpool W10804159 Outer Door Glass?

Regularly clean the oven door glass with a non-abrasive cleaner to prevent buildup of grease and grime. Check for cracks or chips before use, and handle carefully to avoid damage. Proper cleaning ensures clear visibility and safe operation.

What are common issues with the Whirlpool W10804159 Outer Door Glass?

  • Cracks or chips from impact.
  • Fogging between glass layers.
  • Loose or rattling glass.
  • Scratches that affect visibility.

Installation Steps

Step1: Switch off power and allow oven to cool completely.

Step2: Remove oven door carefully from hinges.

Step3: Unscrew inner panel and take out old glass.

Step4: Place new glass securely in frame.

Step5: Reassemble panel and tighten screws.

Step6: Damage gloves and ensure power is isolated.