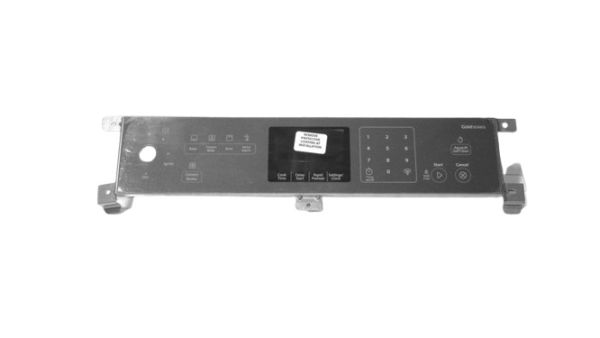
Whirlpool W10728523 Range Membrane Switch Assembly
Special Price
$165.46
Regular Price
$181.95
In stock
Available Quantity:
7
SKU
W10728523
Product Description
The Whirlpool W10728523 Range Control Membrane Switch Assembly works by sending electrical signals to the control board, which allows the users to change the temperature settings, timers, and other cooking modes with ease. It is a part that allows for precise control of many cooking functions on a range. This assembly helps in the functionality of the appliance and makes the operation of the range smooth and convenient in the kitchen, making it a part of maintaining better cooking performance and range operation.
Manufacturer
