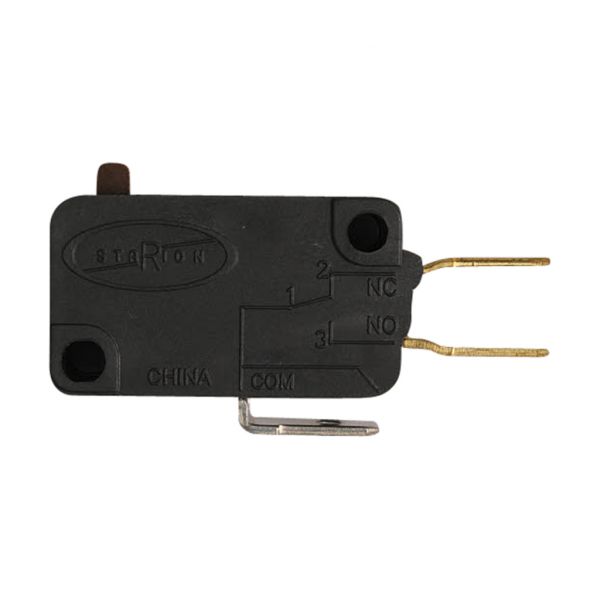
Whirlpool W10727360 Microwave Door Switch
$4.84
In stock
Available Quantity:
946
SKU
W10727360
Product Description
The Whirlpool W10727360 Microwave Switch Door is an important component for ensuring the safe operation of Whirlpool microwaves. This door switch is critical in determining if the microwave door is properly closed before allowing the appliance to work. It is often integrated into the door latch mechanism and operates by cutting off the microwave's power supply when the door is open. This switch is utilized in a variety of Whirlpool microwave models and improves user safety by prohibiting the microwave from working until the door is firmly closed. With its dependable performance and longevity, the W10727360 Microwave Switch Door helps to the efficient and secure functioning of Whirlpool microwaves, delivering tranquility.
Manufacturer

✓ This Product Replaces:
W10269457, W10727360VP