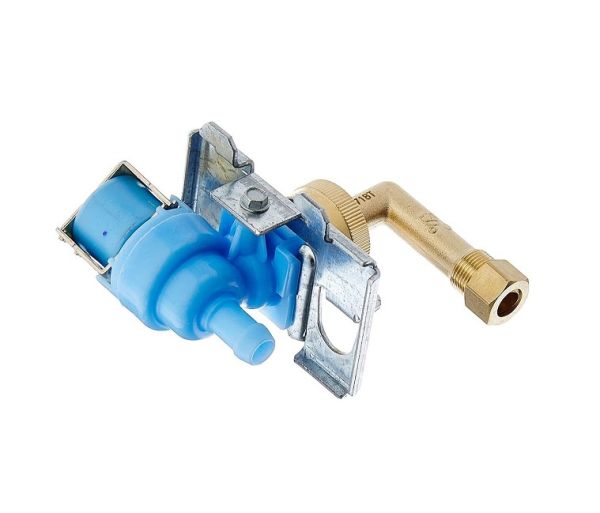
This Part Fits the Following Models (591)
Whirlpool Dishwasher Water Inlet Valve W10648041
The Whirlpool Dishwasher Water Inlet Valve W10648041 is a crucial part made to guarantee your dishwasher runs well. This original component controls the water flow into the device to provide the best possible cleaning results. It's simple to install, offers hassle-free upkeep, and is dependable, so your dishwasher will run smoothly. This water inlet valve is made of high-quality materials and is expected to last for a long time, giving you confidence about the maintenance of your appliance. This part is crucial to keeping your Whirlpool dishwasher operating smoothly and keeping your dishes spotless. With the Whirlpool Dishwasher Water Inlet Valve W10648041, you can get rid of problems with water flow and take pleasure in reliable washing results. Invest in an improved dishwasher today to enjoy increased washing cycle efficiency.
Key Features for the Whirlpool Dishwasher Water Inlet Valve W10648041:
-
Reliable Water Control: Ensures precise regulation of water entering the dishwasher, optimizing cleaning cycles for sparkling dishes.
-
High-Quality Construction: Crafted from durable materials, guaranteeing longevity and resistance to wear and tear.
-
Easy Installation: Simplified installation process facilitates quick and hassle-free replacement, minimizing downtime and inconvenience.
-
Compatibility: Designed to fit seamlessly with various Whirlpool dishwasher models, ensuring compatibility and ease of use.
-
Water Efficiency: Helps conserve water by delivering the appropriate amount needed for each wash cycle, promoting eco-friendly dishwashing.
-
Enhanced Dishwashing Performance: By maintaining proper water flow, this inlet valve contributes to the overall effectiveness and efficiency of your Whirlpool dishwasher, delivering consistently excellent results with every load.
Installation Steps
Step 2: The screws that hold the valve in place against the wall should be removed.
Step 3: The water line attached to the valve should be carefully detached using pliers.
Step 4: The valve should be extracted from the wall and the wiring should be inspected. It should be ensured to remember which wires connect to which terminals.
Step 5: After the wiring configuration is documented, the wires from the existing valve should be disconnected.
Step 6: The new W10648041 valve should be taken and the corresponding wires should be attached to the same terminals as they were on the old valve.
Step 7: The new valve should be placed back into the wall, ensuring that the inlet tube aligns properly with the water supply line.
Step 8: The valve should be fastened using the screws that were previously removed.
Step 9: The inlet tube should be attached to the water supply line and the connection should be secured with pliers.
Step 10: The water supply should be activated and any leaks should be inspected.
Step 11: Once it is confirmed that there are no leaks, the installation has been completed!
Please remember, these instructions are served as general guidance and should always be utilized alongside the manufacturer's manual, if available.
