Whirlpool W10554125 Range Griddle

Special Price $71.49 Regular Price $112.47
In stock
Available Quantity:   11
SKU
W10554125

Product Description

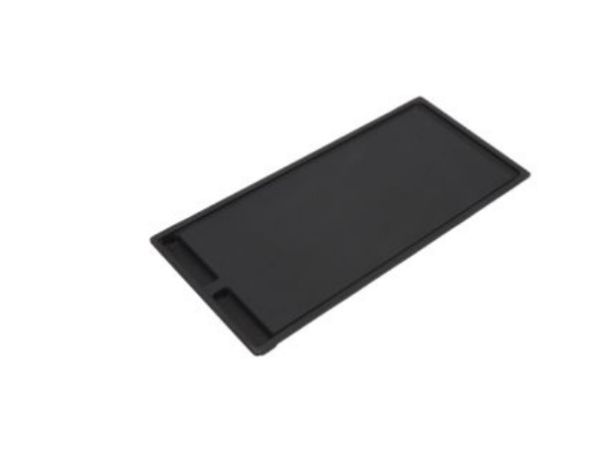
The Whirlpool W10554125 Range Griddle adds flexibility to cooking by offering a versatile surface to cook a range of dishes. It is used by putting it on the range whereby heat is distributed evenly across the entire cooking surface and can therefore be used for pancakes, eggs, bacon, and other things. Featuring a heavy-duty construction for consistent cooking results, it has a nonstick 3 and a heavy-duty price. This griddle expands the range’s capabilities with convenience and efficiency for a wide range of meals.
Griddle,
Manufacturer
https://www.hnkparts.com/media/catalog/product/w/1/w10554125-72714.jpg
Manufacturer Name: WHIRLPOOL
Product Number: W10554125
OEM Part Number: W10554125
Product Description: Griddle

Choose the best Home Appliance parts and supplies from HnKParts!

  • Same Day Shipping

  • Best Quality And Best Price

  • Wide Range of Inventory

  • Best Customer Service

Have More Questions or Need Help to Place The Order?
Reach us at (866)723-0907 or [email protected]

Write Your Own Review
You're reviewing:Whirlpool W10554125 Range Griddle
Your Rating
Customer Questions
What maintenance is required for the Whirlpool W10554125 Griddle?

Clean the surface after each use to remove residue and prevent buildup. Ensure it sits flat and stable on its supports. Check that heating areas function evenly. Avoid placing heavy items that could shift or block heat distribution.

What are common issues with the Whirlpool W10554125 Griddle?

  • Uneven heating across surface.
  • Items sliding during cooking.
  • Hot spots or cold zones forming.
  • Surface warping or flexing under load.

Installation Steps

Step1: Ensure the range is turned off and cool before handling.

Step2: Remove the existing griddle insert.

Step3: Align the new griddle with the cooktop supports or slots.

Step4: Slide the griddle into position until it rests evenly.

Step5: Confirm stability and level before use.

Step6: Test by heating briefly to ensure proper placement.