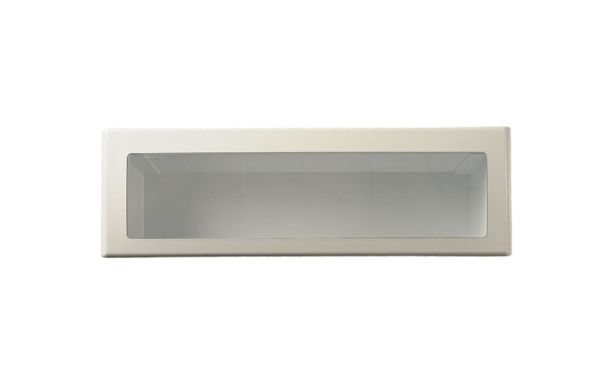
Whirlpool W10323042 Refrigerator Door Shelf Bin
Special Price
$84.47
Regular Price
$137.43
In stock
Available Quantity:
1
SKU
W10323042
Product Description
The Whirlpool W10323042 Refrigerator Door Shelf Bin stores and arranges the food in the appliance door. It operates by firmly fastening on the slots allocated on the door liner to form a stable compartment to hold bottles, jars, and containers. It is fitted inside of the refrigerator door and attached to the molded supports firmly so that it fits properly into the supports and can be easily accessed and used well in the available storage space.
Manufacturer

✓ This Product Replaces:
2222922, W10323036