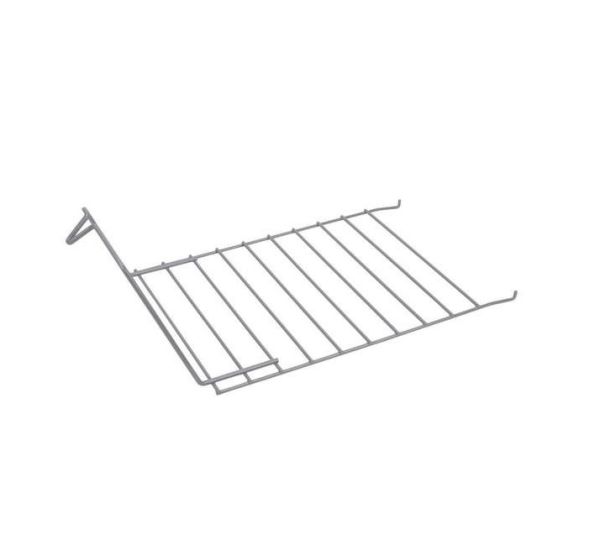
Whirlpool W10322470A Dryer Drying Rack
Special Price
$29.41
Regular Price
$35.52
In stock
Available Quantity:
19
SKU
W10322470A
Product Description
The Whirlpool W10322470A Dryer Drying Rack is a useful part that allows delicate items to be air-dried without tumbling. Put the rack inside the dryer set the machine to a no-heat cycle and let items dry gently with the airflow. For wool sweaters, shoes, and other fabrics that should not be exposed to direct heat. This allows for damage to delicate materials to be prevented while still providing convenience by utilizing existing dryer space, which makes it a solution to expand drying options without sacrificing fabric quality.
Manufacturer

✓ This Product Replaces:
W10886894