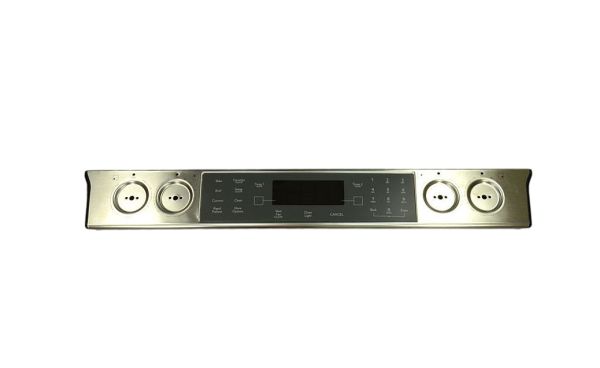
Whirlpool W10314417 Range Control Panel S/S Assembly
Special Price
$223.70
Regular Price
$294.87
In stock
Available Quantity:
4
SKU
W10314417
Product Description
The Whirlpool W10314417 Control Panel Assembly is used to fix range’s control issues. This panel is designed the users can simple control cooking settings, temperature control and other functions of the oven. To accommodate the control board and the commands from the user can be relayed to the different of the panel. Simple to handle and has a longevity that enables to deliver the better performance when using the touchpad.
Manufacturer

✓ This Product Replaces:
W10239346