
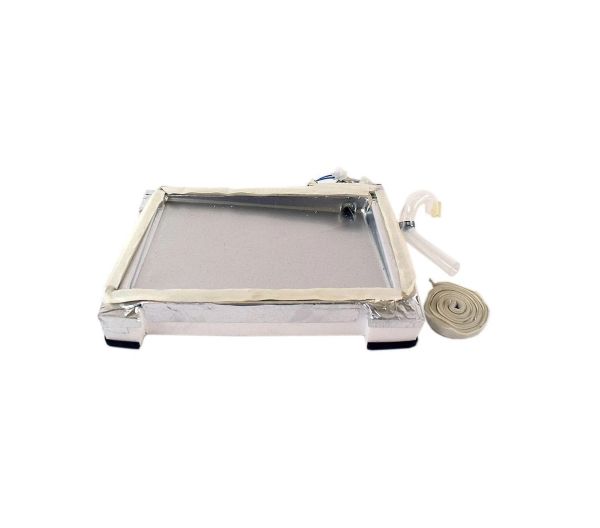
Whirlpool W10199913 Refrigerator Drip Pan

Special Price $250.52 Regular Price $288.95
In stock
Available Quantity:   5
SKU
W10199913

Product Description

The Whirlpool W10199913 Refrigerator Evaporator Drip Pan is used to catch and remove extra moisture, keeping the inside dry and clean. It helps to manage during cooling to stop leaks and mold from forming. It does this by capturing water that comes from the evaporator coils, and then gently evaporating it with the heat from the compressor.
Manufacturer

✓ This Product Replaces: 67003238
https://www.hnkparts.com/media/catalog/product/w/1/w10199913-94139.jpg
Manufacturer Name: WHIRLPOOL
Product Number: W10199913
OEM Part Number: W10199913
Product Description: Pan-Drip Refr

Choose the best Home Appliance parts and supplies from HnKParts!

  • Same Day Shipping

  • Best Quality And Best Price

  • Wide Range of Inventory

  • Best Customer Service

Have More Questions or Need Help to Place The Order?
Reach us at (866)723-0907 or [email protected]

Write Your Own Review
You're reviewing:Whirlpool W10199913 Refrigerator Drip Pan
Your Rating
Customer Questions
What maintenance is required for the Whirlpool W10199913 Drip Pan?

Regularly remove and clean the refrigerator drip pan to avoid mold, odors, and water buildup. Use mild soap and warm water, and dry thoroughly before replacing. Inspect for cracks or damage to avoid leaks. Ensure the pan is properly seated to maintain better operation.

What are common issues with the Whirlpool W10199913 Drip Pan?

  • Refrigerator cracks or leaks causing water to spill.
  • Accumulation of mold or unpleasant odors.
  • Improper seating leading to vibration or rattling.
  • Blocked drainage causing water overflow.

Installation Steps

Step1: Unplug the refrigerator to ensure safety and pull it away from the wall.

Step2: Locate the old drip pan at the bottom rear of the unit and slide it out carefully.

Step3: Clean the mounting area to remove debris, mold, or spills before installation.

Step4: Insert the new drip pan into the correct rails or bracket alignment.

Step5: Push the refrigerator back, plug it in, and check for proper drainage and stability.