
The store will not work correctly in the case when cookies are disabled.
We collect user information to provide a better user experience and protect the security of our website. By continuing to use our website, you acknowledge the use of cookies.
In the Observance of Memorial Day No Shippings or Deliveries on Monday, 05/25. Second day air orders on 05/21 and next day air orders on 05/22 will be delivered on Tuesday, 05/26.
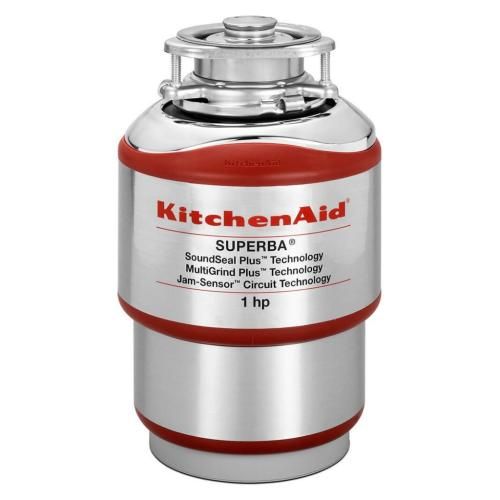
The Whirlpool W10156762 1-HP Waste Disposal Kit is designed to effectively chop and dispose of food waste hence eliminating the mess and smell in the kitchen. This is a high-powered garbage disposal unit that comes with a 1-horsepower motor that grinds food waste into fine particles within a short time. It uses an effective grinding system that grinds the waste and then the waste is disposed of through the plumbing system. Virtually noiseless, and improving the overall kitchen sanitation, this disposal kit makes cleanup easier, reduces waste going to the landfill, and prevents clogging of the sink.
This 1 hp continuous feed food waste disposer allows you to add food waste while the disposer is running. The three-stage grinding technology combines with premium sound reduction features to help you quietly and efficiently reduce waste volume.
What maintenance is required for the Whirlpool W10156762 Waste Disposal?
Run cold water before and after operation to flush food particles through the grinding chamber. Grind small batches of waste instead of large quantities. Periodically clean the chamber using mild detergent and water. Turn off electrical power before clearing debris from inside the unit.
What are common issues with the Whirlpool W10156762 Waste Disposal?
Clogs from food buildup.
Leaking around the sink flange.
Unusual grinding or buzzing noises.
Slow or inconsistent draining.
Installation Steps
Step1: Turn off electrical power to the disposal at the circuit breaker.
Step2: Disconnect the existing disposal unit from the mounting ring.
Step3: Detach the drain pipe and electrical connections carefully.
Step4: Install the mounting hardware supplied with the new disposal.
Step5: Reconnect the drain pipe and electrical wiring securely.
Step6: Restore power and run water while testing the disposal operation.
