General Electric WH2X1198 Washer Tub Bearing
$25.19
In stock
Available Quantity:
79
SKU
WH2X1198
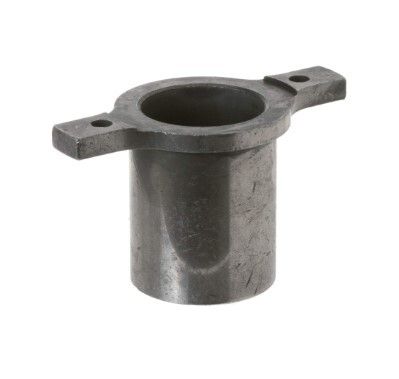
Product Description
The General Electric WH2X1198 Washer Tub Bearing is a circular support component that stabilizes the inner wash basket rotor as it turns during wash and spin operations. It works by reducing friction between moving parts and maintaining proper alignment of the base within the outer tub assembly. The bearing is installed at the bottom of the outer tub where the drive passes through the tub structure and interfaces with the transmission and spin system components. Its shaft support, rotational alignment, and mechanical load operation contribute to coordinated tub movement and washing and spinning operation cycles.
Manufacturer

✓ This Product Replaces:
WH02X1198