The store will not work correctly in the case when cookies are disabled.
We collect user information to provide a better user experience and protect the security of our website. By continuing to use our website, you acknowledge the use of cookies.
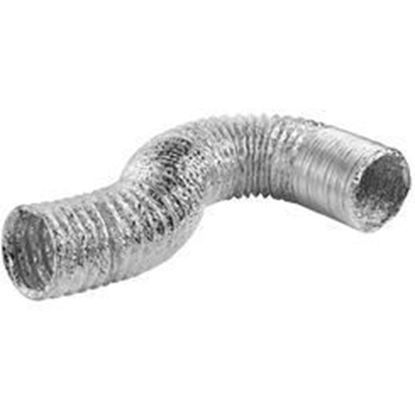
The Dundas Jafine Inc. TD450 Dryer Transition Duct 4" X 50' is used to control the exhaust air of an appliance to an external vent outlet. It works by the flow of air through a multi-layered aluminum and wire-reinforced building that is open on the inside and can withstand air pressure. The mechanism works with an internal support coil, which maintains the shape of the ducts as air flows through them. It is placed between the wall vent connection and the dryer exhaust port connection and is clamped at both ends to install.
Step 1: The power supply to the dryer is disconnected. The plug is removed from the electrical outlet.
Step 2: The outer panels of the dryer are taken off. Access to the duct clothes dryer is allowed.
Step 3: The old dryer is extracted by loosening it from the wall. First, all electrical connections, air supply lines, and the exhaust vent system are detached.
Step 4: The new 4 x 50 foot duct clothes dryer is installed following the guidelines provided on the package.
Step 5: The new dryer is fastened to the wall by firmly attaching the mounting plate. The ducts, electrical connections, and air supply lines are connected according to the specifications.
Step 6: The power supply to the dryer is reconnected. It is activated and its operations are verified.
Step 7: The outer panels of the dryer are replaced.
Step 8: The dryer is ensured to operate smoothly, and you are set to go!
Please note, these guidelines are served as general assistance and should always be utilized alongside the manufacturer's manual, if accessible.