Step 1: The power supply to your Speed Queen washer should be disconnected prior to starting.
Step 2: A flathead screwdriver should be employed to access the panel on the washer.
Step 3: The screws securing the drum should be taken out and the drum should be detached from the appliance.
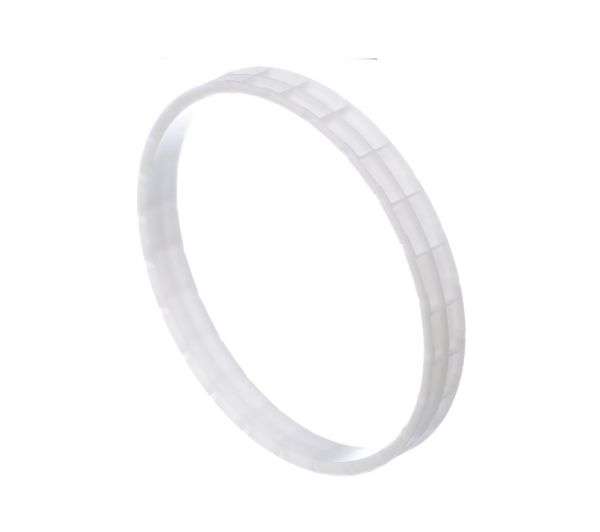
Step 4: The mounting screws for the FRICTION RING should be identified and extracted using a flathead screwdriver.
Step 5: With pliers, the FRICTION RING should be gently detached from the rear of the machine.
Step 6: The new FRICTION RING should be carefully positioned into the machine, ensuring it is correctly seated.
Step 7: The mounting screws should be reinserted and secured tightly.
Step 8: The drum and the access panel should be reassembled, then your machine should be reconnected to the power source.
Step 9: Your machine should be operated to verify that the FRICTION RING is working correctly.
The Speed Queen 37937 FRICTION RING has now been effectively replaced.
Please remember that these instructions are to be utilized as general guidance and should always be utilized alongside the manufacturer's manual, if it is available.