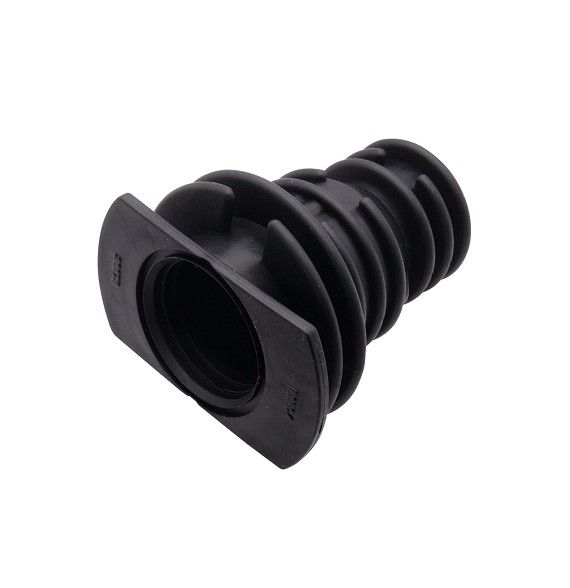
Speed Queen 36878 Washer Standpipe Adapter
$8.24
In stock
Available Quantity:
27
SKU
36878
Product Description
The Speed Queen 36878 Standpipe Adapter is designed to fit the washing machine drain hose and the standpipe to avoid leakage and backflow and used to fit into the laundry system without compromising on the drainage system and works by clamping the drain hose tightly around it while the same time allowing free flow of water during washing. The adapter also assists in controlling the pressure of the drainage, the drainage pressure adapter increases the efficiency of washing and prevents water damage to the floor besides prolonging the durability of the machine through proper disposal of wastewater.
Manufacturer
