The store will not work correctly in the case when cookies are disabled.
We collect user information to provide a better user experience and protect the security of our website. By continuing to use our website, you acknowledge the use of cookies.
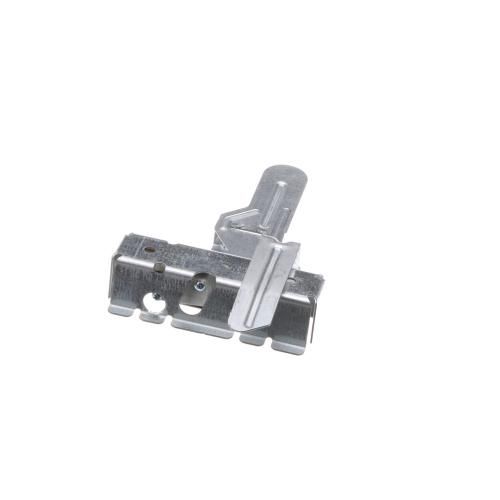
The Speed Queen 204696 Washer Dual Lid Switch Kit monitors the lid position during appliance operation through a paired switch assembly connected to the control circuit inside the cabinet. The switches detect lid opening and closing movement to manage operational responses during washing and spin activity within the machine. Installed beneath the top panel near the lid access section, the kit fits within the designated switch mounting area for installation. Lid position monitoring supports controlled cycle operation, maintains response during opening and closing movement, and assists with uninterrupted washer activity throughout washing and spinning cycles.
Step 1: All electricity to the washing machine is to be disconnected. The washer's plug is to be removed from the wall outlet.
Step 2: The two wires, one black and one white, attached to the dual lid switch assembly are to be identified. These wires are typically located at the bottom right corner of the washer cabinet.
Step 3: The two wires are to be unplugged from the dual lid switch assembly by pressing the latch on either side of the connector and pulling it out of the assembly. It is important to remember the color of each wire for future reconnection.
Step 4: The switch assembly is to be extracted from the front of the washer and the mounting screws located on the back of the switch are to be taken out.
Step 5: The new Speed Queen 204696 KIT Dual Lid Switch is to be positioned by matching the mounting holes with those on the rear of the washer cabinet. The switch is to be fastened using the mounting screws.
Step 6: The two wires are to be reattached to the new dual lid switch assembly. It is to be ensured that the black wire is connected to the terminal labeled “B” and the white wire is connected to the terminal labeled “W”.
Step 7: The washer's plug is to be reinserted into the wall outlet and the power is to be switched back on. The operation of the washer is to be verified to confirm that the new switch functions correctly.
Please remember, these guidelines are intended for general assistance and should always be utilized alongside the manufacturer's manual, if one is available.