
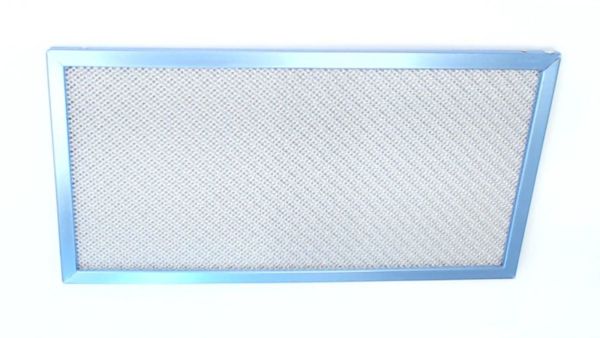
Broan SB08087233 Range Hood Grease Filter

Special Price $32.64 Regular Price $34.95
Out of stock
Available Quantity:   0
SKU
SB08087233

Product Description

The Broan SB08087233 Range Hood Grease Filter is designed for maximum air flow; it traps grease as air passes through the filter mesh to prevent accumulation in the ventilation system. It is made of robust materials that ensure durability and functionality and at the same time, it provides the right amount of ventilation. It also ensure that the hood is always in a better condition to perform its function of preventing the accumulation of residue. This filter also aids in the durability of the range hood, reduces the emission of bad smell in the kitchen, and increases the level of cleanliness.
Manufacturer

https://www.hnkparts.com/media/catalog/product/s/b/sb08087233_broan_hnkparts.png

This Part Fits the Following Models (1)

Manufacturer Name: Broan
Product Number: SB08087233
OEM Part Number: SB08087233
Product Description: Filter

Choose the best Home Appliance parts and supplies from HNKParts!

  • Same Day Shipping

  • Best Quality And Best Price

  • Wide Range of Inventory

  • Best Customer Service

Have More Questions or Need Help to Place The Order?
Reach us at (866)723-0907 or [email protected]

Write Your Own Review
You're reviewing:Broan SB08087233 Range Hood Grease Filter
Your Rating
Customer Questions
What maintenance is required for the Broan SB08087233 Grease Filter?

Remove the filter and clean it with warm, soapy water to remove grease buildup. Ensure it is seated correctly when replaced. Verify that airflow passes freely through the filter and that smoke or odors are captured efficiently during cooking.

What are common issues with the Broan SB08087233 Grease Filter?

  • Airflow is reduced.
  • Grease builds up unevenly.
  • Filter rattles during fan operation.
  • Smoke or odors are not captured effectively.

Installation Steps

Step1: Turn off the range hood and disconnect the power for safety.

Step2: Remove the existing grease filter by sliding or unhooking it.

Step3: Position the new filter in the same orientation and secure it into the slots.

Step4: Reconnect power and verify proper airflow operation.