Step 1: To begin, the power supply to your refrigerator should be disconnected and it should be unplugged from the electrical outlet.
Step 2: The evaporator coil should be found, then the screws fastening it to the back panel should be taken out, or a wrench should be utilized if required.
Step 3: The electrical connections from both the evaporator and compressor should be detached, taking care not to harm the wiring.
Step 4: The evaporator and compressor should be extracted from the refrigerator.
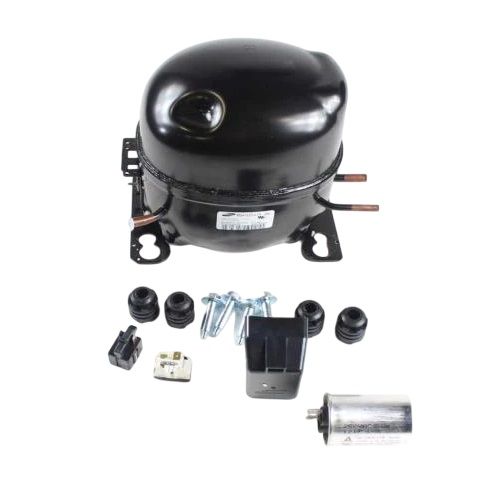
Step 5: The new MSA162DL1H/ASH CMP,COMP,REFRIGERATOR,R-134A should be positioned by linking it to the corresponding power and refrigerant lines.
Step 6: The replacement unit should be fastened and it should be verified that all connections are secure.
Step 7: The electrical connections should be reattached and the screws that secured the evaporator coil should be reinstalled.
Step 8: The refrigerator should be reconnected to the wall outlet, the power should be switched on, and it should be let to operate for several minutes.
Step 9: Any leaks should be inspected, it should be confirmed that the seal is snug and there are no loose bolts, then the temperature setting should be adjusted.
Step 10: Your newly replaced and functioning refrigerator should be relished!
Please remember, these guidelines serve as general advice and should always be utilized alongside the manufacturer’s manual, if accessible.