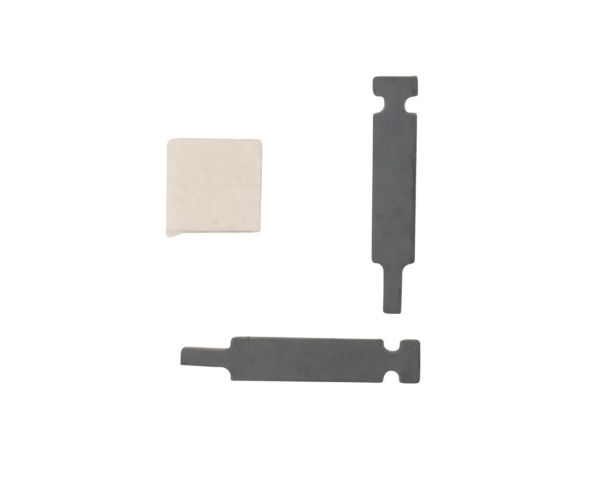
Speed Queen RB170003 Dryer Drum Front Glide Kit
$27.06
In stock
Available Quantity:
90
SKU
RB170003
Product Description
KIT,GLIDE,1992&NEWER SM DR
Manufacturer
