
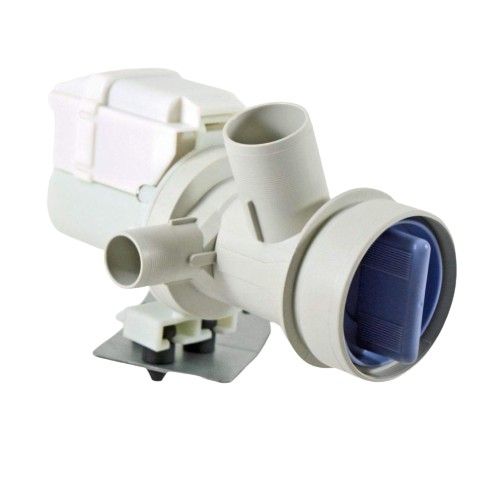
Speed Queen 802623P Washer Drain Pump

Special Price $154.21 Regular Price $195.79
In stock
Available Quantity:   21
SKU
802623P

Product Description

The Speed Queen 802623P Drain Pump is used for the efficient drainage of water from the washing machine and is designed to operate at efficiency and not allow water to accumulate and works by pushing the wastewater through the drain hose and helps in emptying the tub after every wash and provides a steady flow of water without blockage and leakage. This pump, when installed, improves the efficiency of the washer, increases its durability and helps avoid water damage.
Manufacturer

✓ This Product Replaces: 801015P
https://www.hnkparts.com/media/catalog/product/8/0/802623p-63743.jpg
Manufacturer Name: SPEED QUEEN
Product Number: 802623P
OEM Part Number: 802623P
Product Description: Pump-Drain

Choose the best Home Appliance parts and supplies from HnKParts!

  • Same Day Shipping

  • Best Quality And Best Price

  • Wide Range of Inventory

  • Best Customer Service

Have More Questions or Need Help to Place The Order?
Reach us at (866)723-0907 or [email protected]

Write Your Own Review
You're reviewing:Speed Queen 802623P Washer Drain Pump
Your Rating
Customer Questions
What maintenance is required for the Speed Queen 802623P Drain Pump?

Regularly inspect the drain pump for clogs, debris, or loose connections to ensure smooth operation. Clean the pump filter and hoses periodically. Always unplug the washer before servicing to avoid electrical hazards and prevent water leakage during maintenance.

What are common issues with the Speed Queen 802623P Drain Pump?

  • Washer fails to drain completely.
  • Unusual humming or buzzing noises during operation.
  • Water leaks from the pump or surrounding connections.
  • Intermittent or complete pump failure causing error codes.

Installation Steps

Step1: Unplug washer and shut off water supply before starting.

Step2: Remove rear panel and disconnect old drain pump wiring carefully.

Step3: Position new pump, secure mounting screws, and reconnect hoses firmly.

Step4: Restore power and water, then run a test cycle for leaks.

Step5: Wear gloves and ensure appliance is stable during installation.