Whirlpool PT220L Dryer Power Cord
Special Price
$15.03
Regular Price
$30.96
In stock
Available Quantity:
45
SKU
PT220L
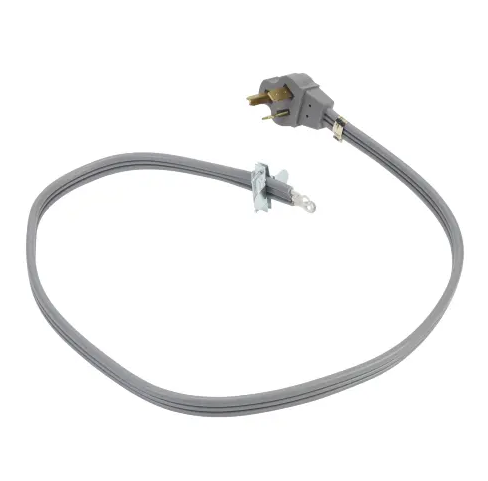
Product Description
The Whirlpool PT220The dryer power cord is a key replacement component that ensures a secure and stable connection between your clothes dryer and an electrical outlet. One end of this 4-foot wire is connected to a power outlet via a standard 3-prong socket. Its other end has ring terminal connectors that attach directly to the terminal block of your dryer. Your dryer's effectiveness could be hampered by a broken or defective electrical line, or worse, it could put you at risk of fire. A genuine Whirlpool PT220L cable can be easily replaced with a worn-out or damaged one, and the dryer doesn't need to be disassembled for this simple do-it-yourself fix.
Manufacturer
