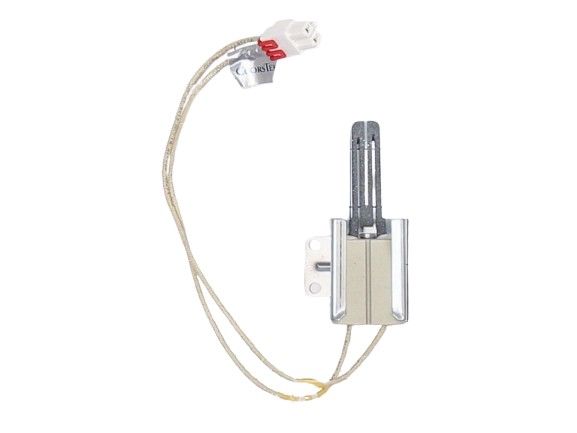
LG MEE61841401 Range Oven Gas Igniter
Special Price
$28.48
Regular Price
$44.98
In stock
Available Quantity:
597
SKU
MEE61841401
Product Description
The LG MEE61841401 Range Oven Gas Igniter gets red hot to start gas combustion at the burner assembly. It takes in voltage, heats its element up to ignition temperature and sparks the gas to make the flame. The igniter is located close to the burner inside the oven compartment, connected to the control module and gas line.
Manufacturer
