The store will not work correctly in the case when cookies are disabled.
We collect user information to provide a better user experience and protect the security of our website. By continuing to use our website, you acknowledge the use of cookies.
Observance of Independence day July 4th we are closed [No shipping's and deliveries ] on 07/03/2026, Orders received after 3.00pm CST on 07/02/2026 will be shipping out on Monday 07/06/2026
Step 1: The washer should be disconnected from the power source and the hot and cold water supplies should be turned off.
Step 2: Any residual water should be cleared from the washer by shutting off the wall taps, then the drain hose should be extracted from the back of the washer and directed into a bucket to drain.
Step 3: The back panel of the washer should be taken off, utilizing a screwdriver if needed. Access to the rear bearing cover will be allowed by this.
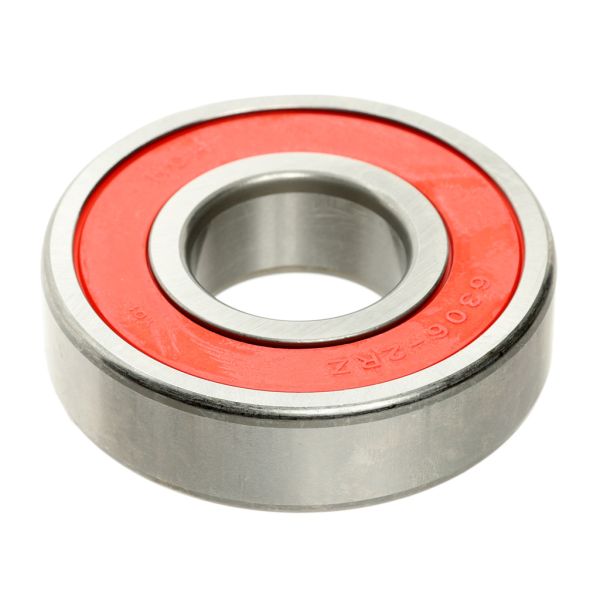
Step 4: The bearing cover should be detached and taken out, followed by the old tub bearing being removed.
Step 5: The new tub bearing should be placed in position following the guidelines provided by the manufacturer.
Step 6: The washer should be reassembled in the reverse sequence, making sure that all screws are securely tightened.
Step 7: The washer should be reconnected to the power supply and both the hot and cold water sources should be turned on.
Step 8: A short wash cycle should be run to verify that the tub bearing has been properly installed.
Having successfully replaced the LG washer tub bearing, your washing machine should now operate quietly and efficiently!
Please remember, these instructions are served as general guidance and should always be used alongside the manufacturer's manual, if it is available.